

Are Cheap Tie-Down Straps Worth the Risk? What to Inspect Before Buying

When you're loading up for a haul—whether it's gear heading to the field, materials for a job site, or equipment moving across country—you want to know your cargo is secure. It's easy to think a tie-down strap is a tie-down strap, and saving a few bucks on cheap straps seems like a no-brainer. But here's what you need to know: cheap straps can fail when you need them most, and the real cost goes far beyond the price tag.
Let's talk about why quality matters and what to look for before you buy.
The Hidden Risks of Budget Tie-Down Straps
Material Quality Gaps
Not all straps are built the same. Polyester webbing delivers a breaking strength of around 10,000 pounds, making it the industry standard for serious tie-downs. Polypropylene—the material in most budget straps—tops out at just 700 pounds. That's a massive difference.
But breaking strength is only part of the story. Polyester stretches just 5-15% under load, while polypropylene stretches up to 50%. That extra stretch means your cargo can shift, loosen, or worse—break free during transport.
Budget straps also deteriorate faster. Quality polyester straps hold up for 3-5 years of regular use, while cheaper materials typically fail within 1-2 years. You're replacing them constantly, which eats into whatever savings you thought you'd get.
Working Load Limits and Safety Standards
Every tie-down strap has a Working Load Limit (WLL)—a safety standard that equals one-third of the strap's breaking strength. This number tells you the maximum safe load the strap can handle. Exceed it, and you're playing with fire.
Here's the problem with cheap straps: the WLL tags are often unclear, missing entirely, or inflated. That makes it impossible to know if you're using them safely. Quality straps come with a legible, permanent tag that clearly marks the WLL and material type, so you always know what you've got.
Hidden Failure Points
Cheap straps fail in places you might not expect. The hardware—hooks, ratchets, and tensioners—corrodes easily on budget models, making them brittle and prone to cracking. The stitching is often sloppy, meaning threads tear and webbing separates over time. And the webbing itself is vulnerable to UV damage, moisture, and heat—degrading faster in the elements.
Cheap straps feel like a quick fix. But when one fails mid-journey, you're looking at lost cargo, damaged equipment, injury risk, and liability. That $5 savings becomes a costly problem.
How to Inspect Tie-Down Straps Before Buying or Using

Check the Webbing
Before you trust a strap with your load, inspect the webbing carefully. Look for UV damage—fading, stiffness, or discolored patches indicate prolonged sun exposure and degradation. Check for cuts, abrasions, or fraying edges. Burns or heat marks are red flags too. If you spot mold or mildew, it means the strap was stored in damp conditions and its strength is compromised.
Run your fingers along the webbing. Quality material feels tight and uniform. Cheap straps feel thin, loose, or uneven.
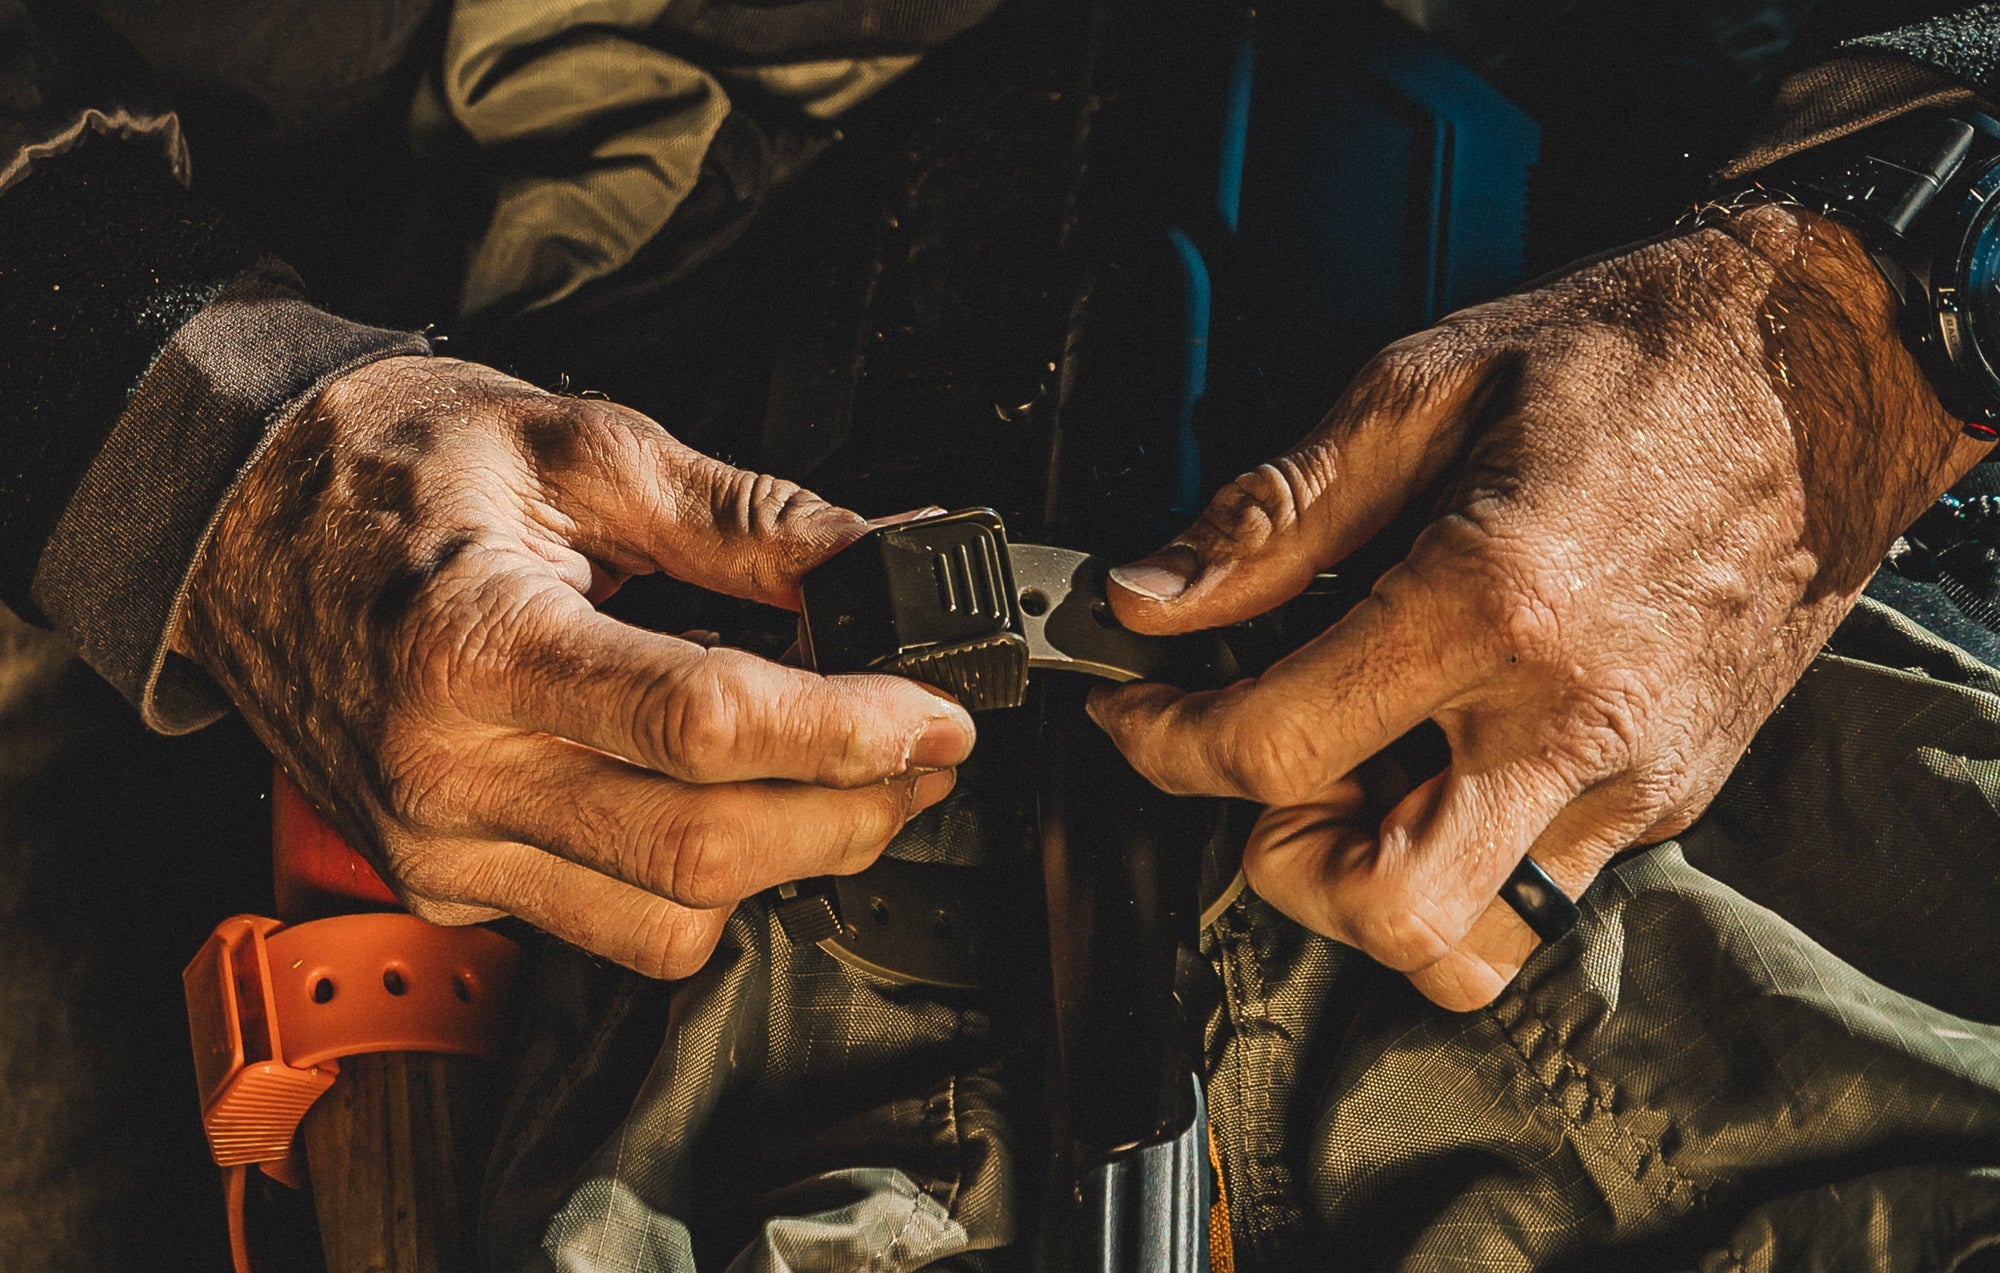
Examine the Hardware
The hooks and ratchets take the brunt of the work. Inspect them closely for corrosion, cracks, or bent attachment points. Pull on the hook—it should be solid, not wobbly. Test the ratchet mechanism before you use it: the locking mechanism must hold tight when engaged and release smoothly when needed.
Verify the WLL Tag
The strap must have a visible, legible tag showing the Working Load Limit and material type. If the tag is faded, torn, or missing entirely, don't use the strap—you have no way to know if it's safe for your load. Always match the strap's capacity to your weight. Never exceed it.
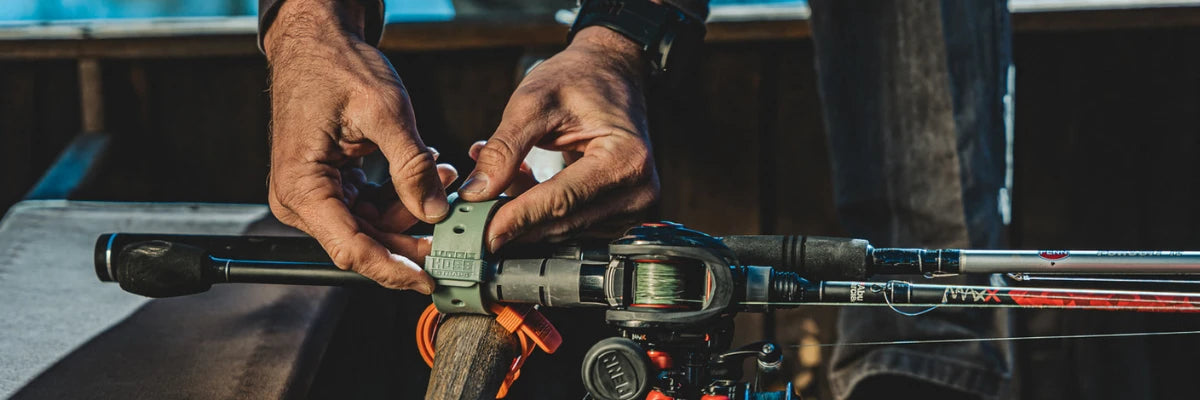
Test the Tension
Before you hit the road, test each strap. Engage the ratchet and pull with steady pressure. The mechanism should lock solid and hold without slipping. If anything feels loose or uncertain, the strap isn't ready for the job.
Why Quality Straps Are Worth the Investment
A quality tie-down strap isn't an expense—it's insurance. When you choose rugged, dependable straps built to last, you're choosing peace of mind. You're securing your cargo. You're protecting other people on the road. And you're buying a strap that won't let you down when it matters most.
Think of it this way: the difference between a cheap strap and a quality one might be $10-15. The difference between a secure load and a failed one? That's measured in safety, reliability, and confidence.
Looking for tie-down straps you can trust? Hoss Straps has you covered, check our collection. Get yours today.
FAQ: Tie-Down Strap Questions Answered
What's the difference between Working Load Limit and breaking strength?
Working Load Limit (WLL) is the maximum safe load a strap can handle during normal use, and it's calculated as one-third of the strap's breaking strength. Breaking strength is the point where the strap will snap under extreme force. WLL is the number that matters for everyday work—always stay within it.
How often should I inspect my tie-down straps?
Inspect your straps before every use and after any heavy haul. Look for webbing damage, hardware corrosion, and that the WLL tag is still legible. If straps are stored in harsh conditions, check them monthly even if unused.
Can I still use a strap if it has minor UV damage?
Minor fading alone isn't disqualifying, but if the webbing feels stiff, brittle, or shows cracking alongside UV damage, the strap's strength is compromised and it should be retired. When in doubt, replace it.
What's the best material for tie-down straps?
Polyester is the industry standard for tie-downs, offering high breaking strength (around 10,000 lbs), low stretch (5-15%), and excellent UV resistance. Nylon is strong but stretches more. Polypropylene is lightweight but weak—suitable only for light loads.
How long should quality tie-down straps last?
Quality polyester straps typically perform reliably for 3-5 years with regular use, depending on storage conditions and maintenance. Harsh UV exposure, moisture, and improper storage will shorten that lifespan. Proper care and inspection extend durability.
Ready to upgrade to straps you can trust? Shop Hoss Straps today and secure your gear the right way. Built tough. Built to last.


