


Mounting Straps for Walls and Pegboards: Installation and Weight Ratings

Check out our gear straps, power tool straps, cord storage straps, 24-inch straps, and more.
When it comes to organizing your garage, workshop, retail space, or studio, wall mounting is not just about convenience. It is about safety, access, and keeping tools or gear where you put them.
The difference between a wall setup that holds strong and one that fails usually comes down to three things: the wall structure, the fasteners, and how the load is spread. Mounting straps can help secure awkward items, bundles, cords, and gear, but they should be part of a properly anchored system, not a shortcut around safe installation.
Table of Contents
- Understanding Weight Capacity and Load Distribution
- How Pegboard and Wall Material Affect Load Limits
- Wall Anchor Types and Weight Ratings
- Proper Installation Techniques
- Weight Distribution and Hook Placement
- The Role of Straps in Wall Organization
- Safety and Maintenance
- Common Installation Mistakes
- Build Your Wall Organization System
- FAQ
Understanding Weight Capacity and Load Distribution
The foundation of any safe wall organization system is knowing what the wall, pegboard, fasteners, and accessories can actually hold.
A hook rated for 25 pounds does not mean your whole wall system can safely hold 25 pounds at that point. The board, fastener, anchor, wall material, and installation method all matter.
| Load Factor | Why It Matters | Safer Habit |
|---|---|---|
| Wall structure | Studs, drywall, plaster, masonry, and plywood backing all hold differently. | Anchor into studs or solid backing whenever possible. |
| Pegboard material | Hardboard, plywood, plastic, and metal panels have different strength limits. | Follow the pegboard maker’s rating, not a generic online number. |
| Fastener type | Plastic anchors, molly bolts, toggle bolts, and screws into studs do different jobs. | Match the fastener to the load and wall type. |
| Load distribution | One overloaded point fails faster than several balanced points. | Spread heavy gear across multiple hooks, straps, or fasteners. |
For wall mounting, think in systems. The safe rating is only as strong as the weakest part.
How Pegboard and Wall Material Affect Load Limits
Pegboard capacity depends on the panel, the wall, and the way it is mounted. A pegboard screwed directly to drywall will not perform like one mounted to furring strips attached to studs.
The Home Depot’s pegboard installation guide recommends using furring strips and mounting them to studs for maximum support. Furring strips also create the gap needed for pegboard hooks to seat properly.
| Surface or Panel | Best Use | Watch-Out |
|---|---|---|
| Hardboard pegboard | General garage and workshop organization | Can sag if under-supported or overloaded. |
| Plywood-backed wall | Heavier tools and flexible mounting layouts | Still needs proper screws and backing support. |
| Metal pegboard | Higher-use workshops and retail displays | Follow the manufacturer’s panel and accessory ratings. |
| Drywall only | Light-duty storage when anchors are correctly rated | Drywall is not the same as a stud or backing board. |
| Masonry or concrete | Heavy-duty installations with proper masonry anchors | Requires anchors designed for masonry, not drywall anchors. |
Wall Anchor Types and Weight Ratings
Anchor ratings vary by brand, wall thickness, installation quality, load direction, and safety factor. Always use the manufacturer’s rating for your exact fastener and wall material.
This Old House notes that different wall materials need different fasteners, and that heavy items should use stronger hardware such as toggle bolts or multiple anchor points when studs are not available.
| Anchor Type | Typical Use | General Load Category | Important Note |
|---|---|---|---|
| Plastic expansion anchor | Light decor, small hand tools, low-stress items | Light duty | Not a good choice for heavy shelves or loaded pegboard zones. |
| Threaded drywall anchor | Small shelves, light brackets, modest tool storage | Light to medium duty | Works only when installed cleanly in suitable drywall. |
| Molly bolt | Medium shelves, display hardware, repeated-use mounts | Medium duty | Expands behind hollow wall material for better holding. |
| Toggle bolt or strap toggle | Heavier brackets, shelves, panels, and displays | Medium to heavy duty | Spreads load behind the wall, but still depends on drywall condition. |
| Screw into stud | Best option for load-bearing wall organization | Strongest common approach | Use correct screw length and avoid utilities behind the wall. |
Eugene Fasteners explains that toggle bolt strength depends on bolt size, wall material, and wall thickness, and recommends using multiple toggle bolts for heavy items so the load is spread across more than one point.
Proper Installation Techniques for Maximum Safety
Good installation starts before drilling. Plan the layout, locate studs, decide where heavy items will live, and choose anchors for the actual load.
Find studs and mark the layout
Use a stud finder and a level. Mark where studs land before you place the pegboard or wall rail. If your layout allows it, mount furring strips or backing directly into studs.
Use furring strips or spacers for pegboard
Most pegboard needs a gap behind it so hooks can seat correctly. Furring strips also help distribute load and reduce panel flex.
Space fasteners consistently
Fasteners should be close enough that the board does not flex, sag, or pull away from the wall. For common pegboard installs, align fasteners with studs and support the panel edges and middle sections.
Use the right fastener depth
Fasteners need to engage the anchor, stud, or backing correctly. Partial installation is a common failure point. Follow the fastener maker’s instructions for pilot hole size, screw length, and tightening.
| Install Step | What to Do | Why It Matters |
|---|---|---|
| Plan load zones | Put heavier tools near studs or backed areas. | Reduces stress on weak wall sections. |
| Level the board | Mark level lines before fastening. | Prevents leaning, uneven hook loading, and sloppy appearance. |
| Pre-drill correctly | Use the pilot hole size specified for the anchor. | Wrong hole size can weaken the anchor. |
| Mount to studs when possible | Drive fasteners into studs or solid backing. | Stronger than drywall-only mounting. |
| Test before loading fully | Add weight gradually and watch for movement. | Catches problems before the wall is fully loaded. |
Weight Distribution and Hook Placement Best Practices
Even a strong pegboard can fail when weight is clustered poorly. Spread load across the board instead of hanging every heavy item from one corner.
- Keep heavier tools closer to studs, backing, or lower sections.
- Use two hooks for long or awkward items.
- Do not rely on one peg for a heavy tool that swings or gets pulled off often.
- Keep frequently used tools at comfortable reach height.
- Rebalance the layout when you add new items.
| Item Type | Best Support | Why |
|---|---|---|
| Small hand tools | Single or double pegboard hooks | Light loads are easy to distribute. |
| Power tools | Cradle hooks, shelves, or straps plus hooks | Better support for weight and shape. |
| Cord bundles | Straps or wide hooks | Prevents tangling and keeps loops controlled. |
| Odd-shaped gear | Multiple support points plus a retaining strap | Reduces shifting when nearby items move. |
| Retail merchandise | Rated hooks, rails, or straps matched to product weight | Keeps displays stable through repeated handling. |
The Role of Straps in Securing Items
Traditional hooks are great for suspending tools. Mounting straps add control. They are especially useful for cords, bundled tools, tubing, lightweight gear, and awkward items that can shift or swing.
Important safety note: unless a strap, pegboard, hook, and wall anchor are all rated for structural hanging, treat straps as organization and retention tools, not structural substitutes for proper anchors.
| Use Case | How Straps Help | Best Practice |
|---|---|---|
| Cord storage | Keeps loops bundled and easy to grab. | Use a strap to bundle the cord, then hang the bundle from a rated hook. |
| Power tool organization | Reduces shifting on shelves or pegboard stations. | Use straps as secondary retention, not the only support for heavy tools. |
| Tubing or hose bundles | Keeps long items coiled and controlled. | Support the weight from a hook or shelf and use straps to manage shape. |
| Retail display | Keeps merchandise tidy and grouped. | Use rated display hardware and straps for organization. |
| Garage gear | Prevents items from swinging or falling when nearby gear is moved. | Add straps to problem items that shift often. |
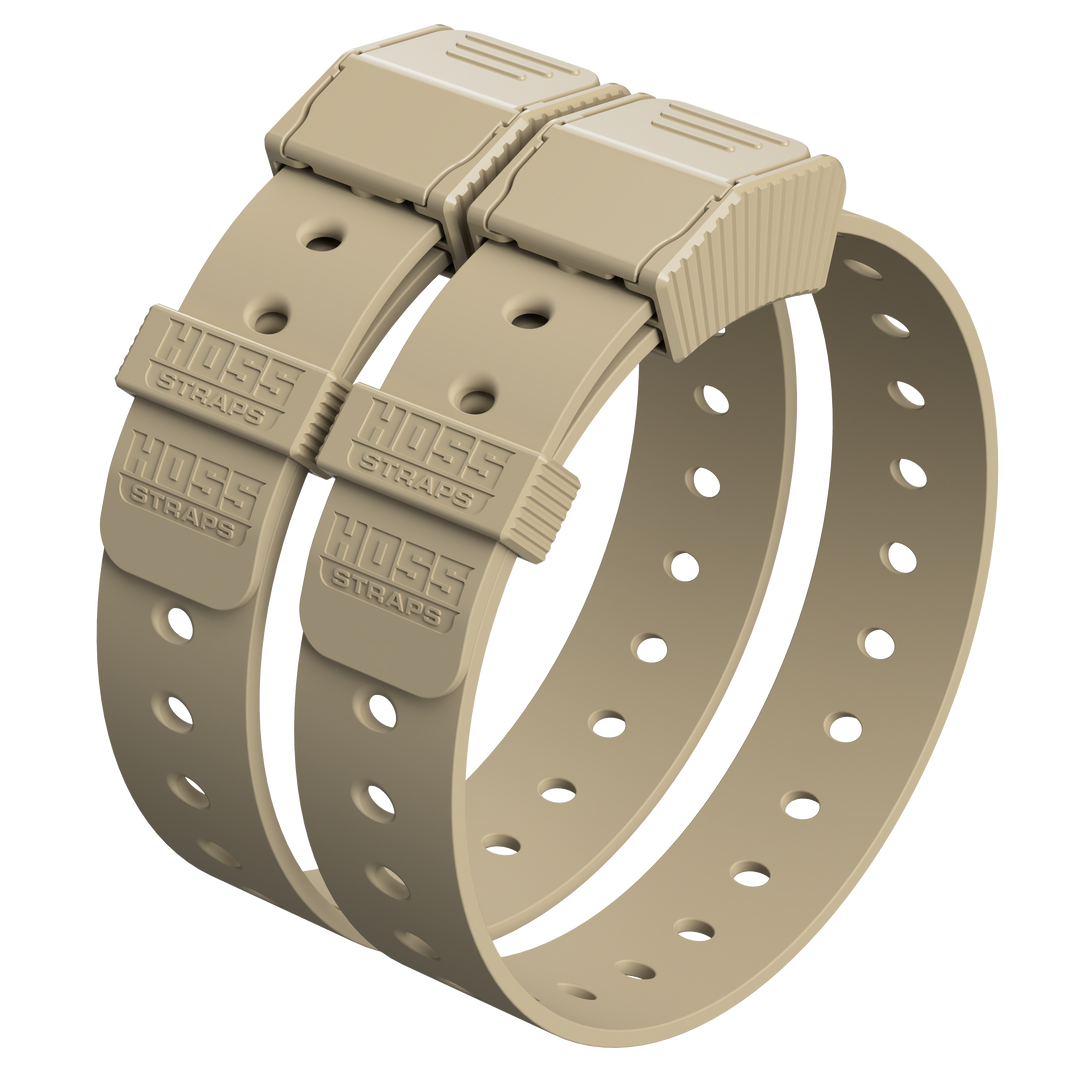
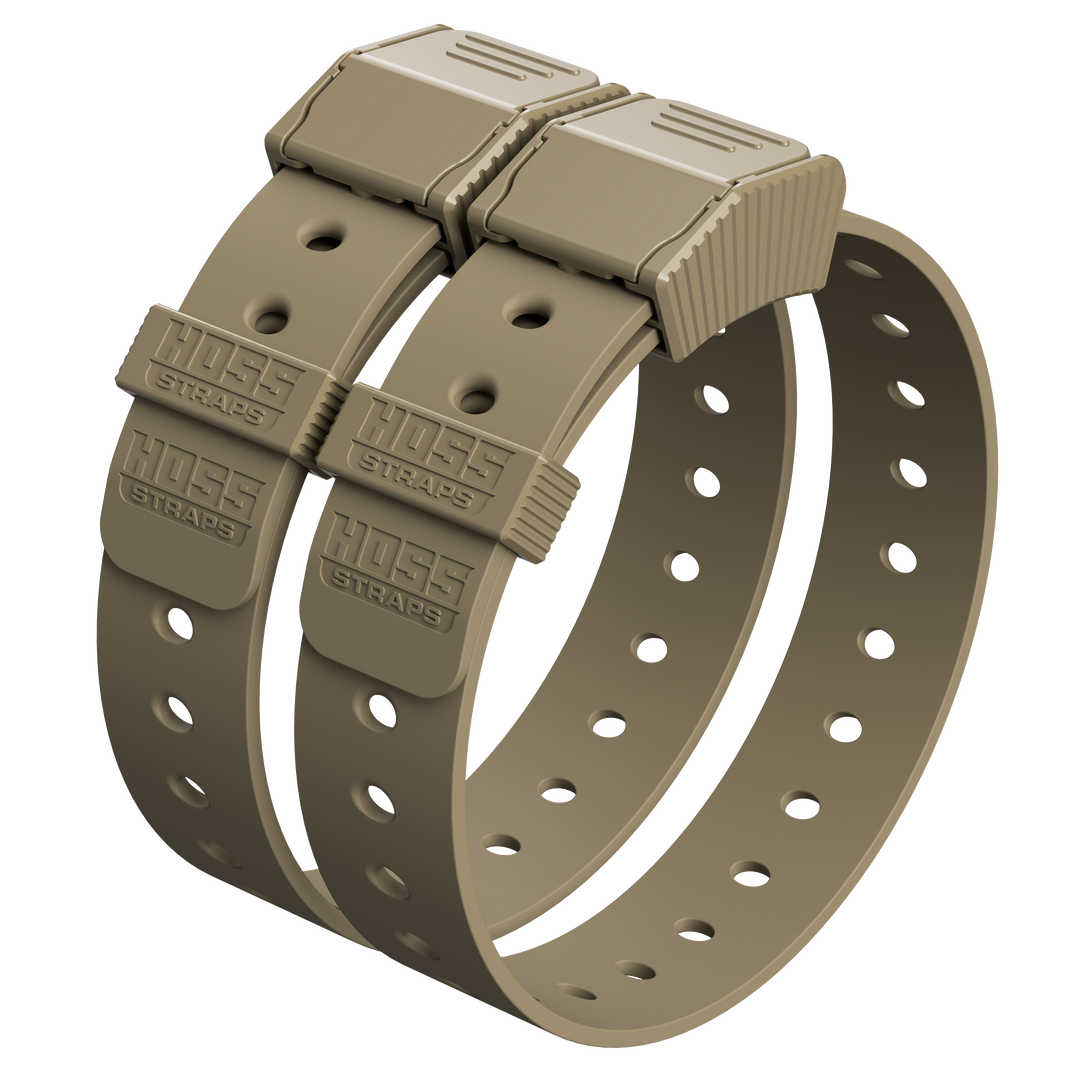
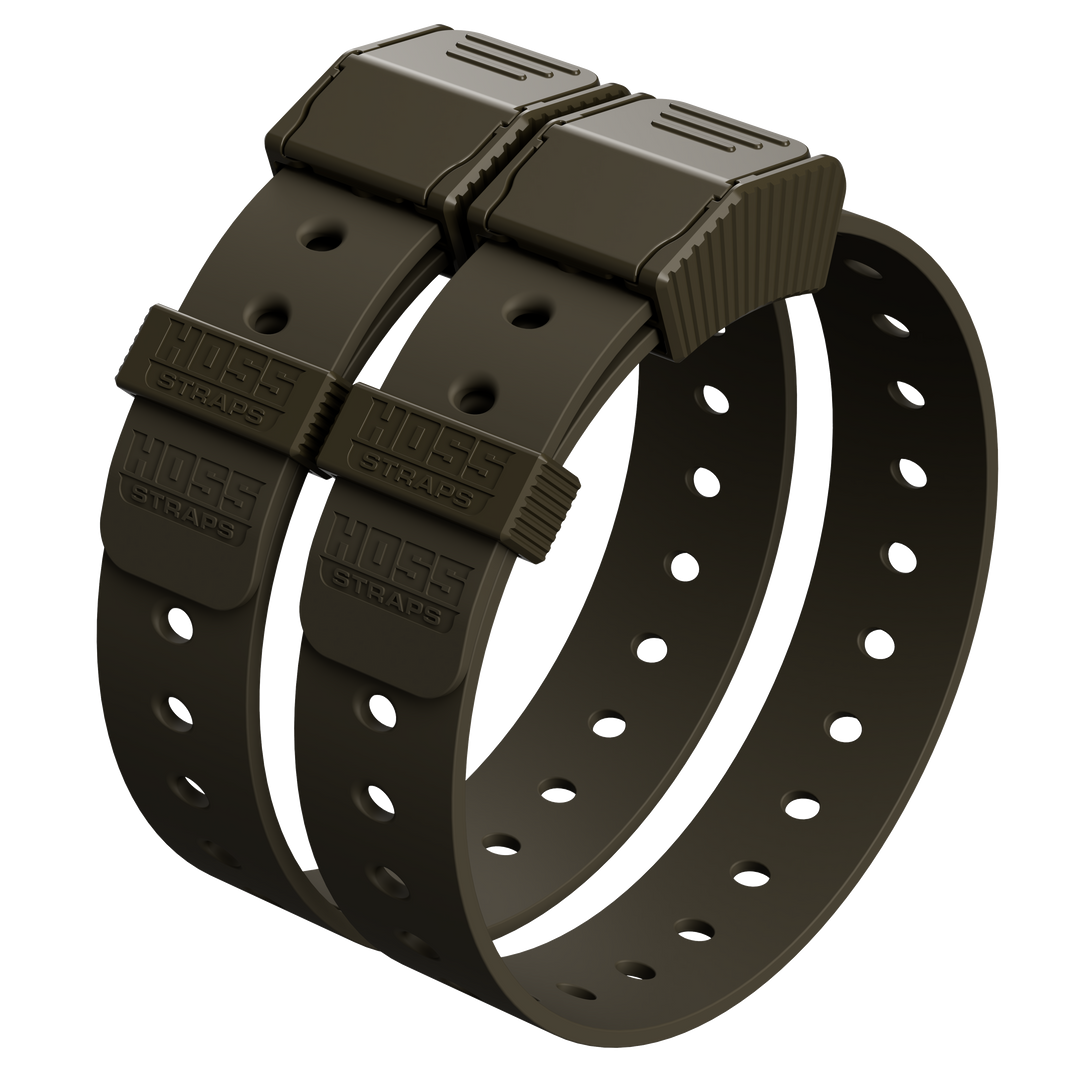
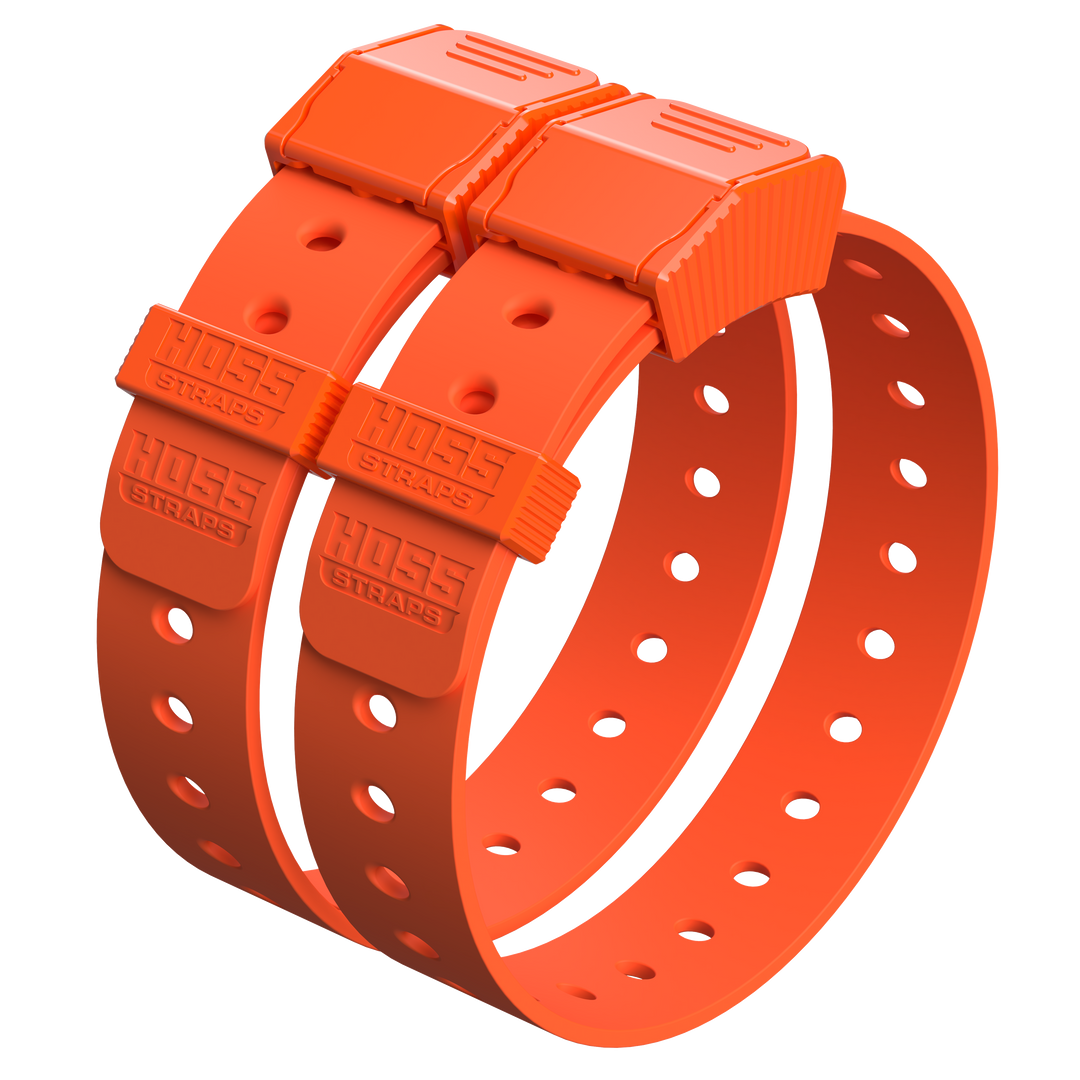
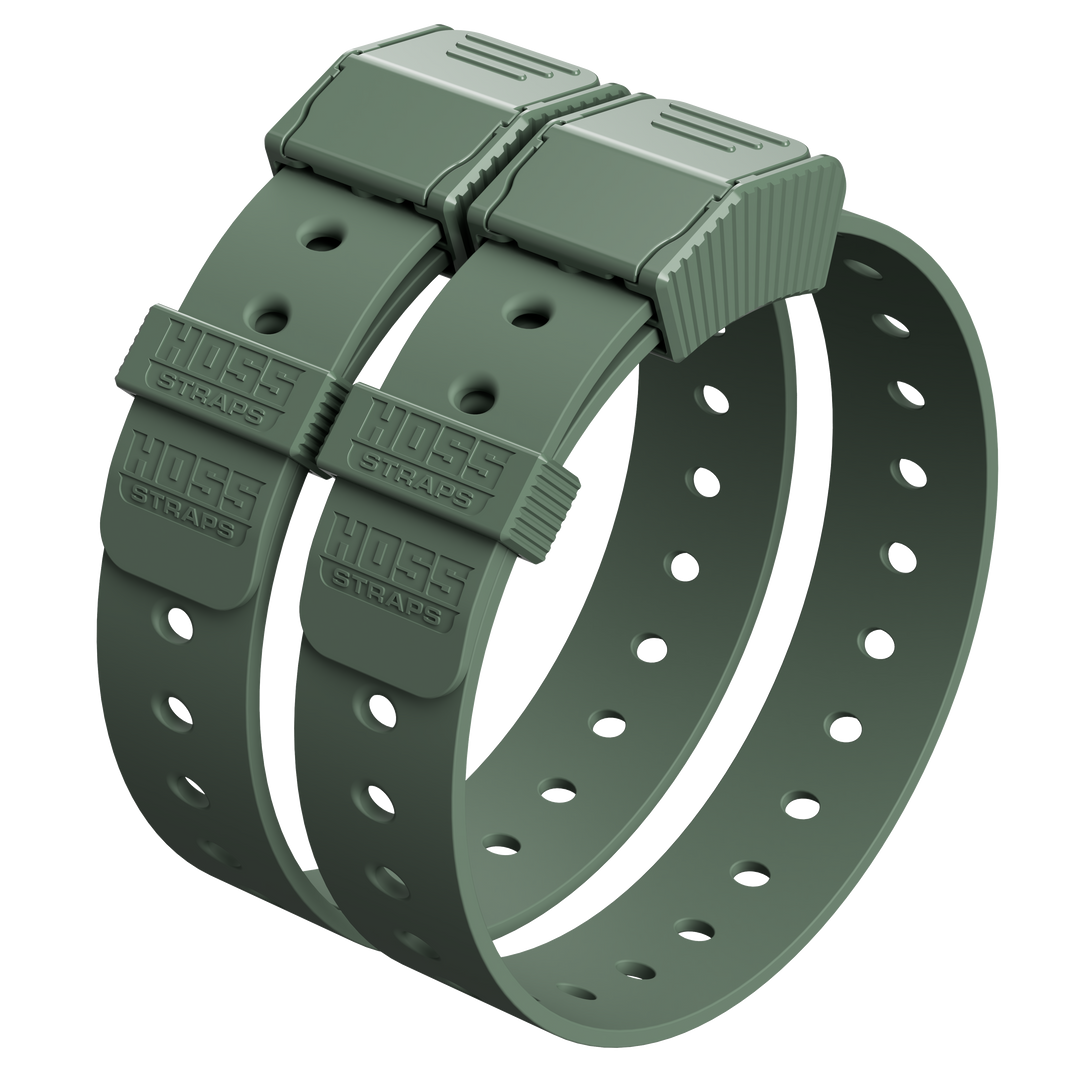
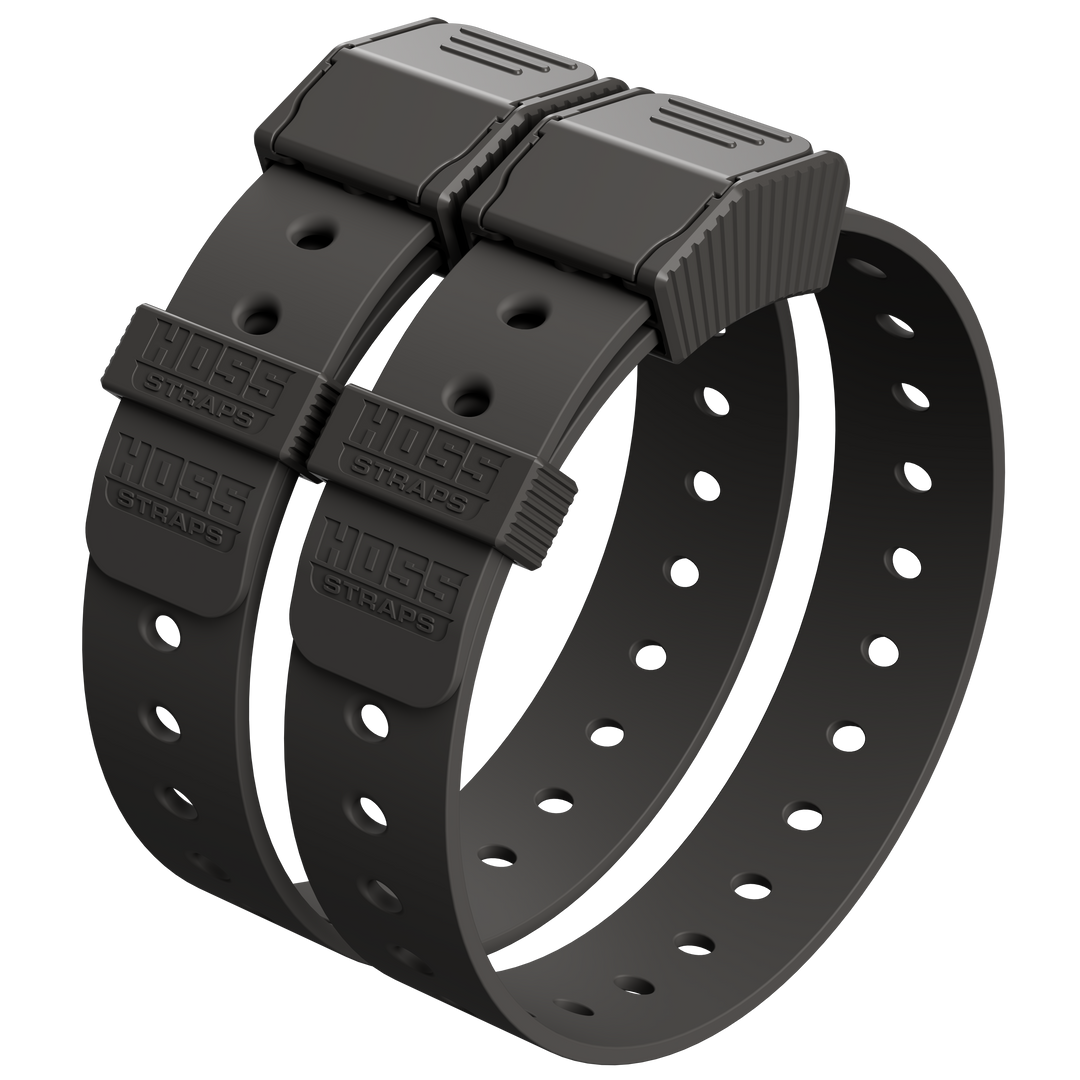
Hoss Gear Straps, Power Tool Straps, and Electrical Straps are 100% weatherproof, reusable, easy to release, and designed to click into place for fast organization. The 24-inch strap loop has a widest locked inside dimension of 6 3/4 inches, making it useful for cords, bundles, shop gear, boat gear, and workbench storage.
Safety Considerations and Maintenance
Installation day is only the beginning. Wall organization systems need periodic checks, especially in workshops, garages, and retail spaces where gear gets removed and replaced often.
Recognize warning signs
- Hooks feel loose or lean downward.
- Pegboard bows, flexes, or pulls away from the wall.
- Fasteners spin, back out, or leave dust around the hole.
- Items shift when you remove nearby gear.
- Straps show cuts, cracks, or buckle damage.
Use a regular inspection schedule
| Environment | Inspection Timing | What to Check |
|---|---|---|
| Home garage | Monthly | Loose hooks, sagging board, worn straps, overloaded areas |
| Busy workshop | Weekly or biweekly | Fastener movement, hook wear, tool balance, strap damage |
| Retail display | Weekly | Customer-handled items, display stability, anchor movement |
| Seasonal storage | Before and after heavy use | Moisture, corrosion, dust buildup, strap condition |
If your pegboard begins to sag or hooks frequently slip, reinforce the system before something falls. That might mean adding furring strips, adding fasteners, switching anchors, or moving heavy items to shelving.
Common Installation Mistakes to Avoid
- Skipping the level: an uneven board looks messy and can make gear shift.
- Using drywall anchors where studs are available: studs or backing are usually stronger.
- Trusting one hook with a heavy item: spread weight across multiple support points.
- Ignoring wall material: drywall, plaster, masonry, and wood backing need different fasteners.
- Mounting pegboard flat against the wall: most pegboard needs spacing behind it for hooks.
- Forgetting dynamic load: pulling a tool off a hook can create more stress than the tool’s static weight.
- Using straps as structural anchors without ratings: straps organize and retain gear, but anchors carry the wall load.
Building Your Ideal Wall Organization System
Successful wall mounting combines quality fasteners, proper installation, and a layout that matches how you work.
- List what you need to hang.
- Weigh or estimate the loaded weight of each item.
- Choose pegboard, backing, hooks, and anchors rated for the job.
- Mount to studs or solid backing whenever possible.
- Use furring strips or spacers so pegboard hooks fit correctly.
- Distribute heavy items instead of clustering them.
- Add straps where gear shifts, swings, or needs bundling.
- Inspect the setup regularly.
When tools, equipment, or merchandise stay secure and accessible, your whole workflow improves. A good wall system becomes invisible in the best way: you notice it because it works, not because you worry about it.
For flexible organization, browse Hoss 24-Inch Straps. They are built for cord management, workbench storage, gear organization, kayak gear, fishing gear, overlanding, and more.
Five Questions About Mounting Straps and Wall Installation
How do I know if my pegboard can hold the weight I need?
Check the pegboard maker’s documentation and the ratings for your hooks, anchors, and wall fasteners. Then calculate the total load, including anything you may add later. When in doubt, mount to studs or backing and use more support points.
Can I use regular hooks or do I need specialized straps?
Use hooks for items designed to hang cleanly. Use straps for cords, bundles, awkward shapes, and gear that shifts. Many setups use both: hooks carry the load, and straps keep the item controlled.
What is the difference between toggle bolts and plastic anchors?
Plastic anchors are usually for light-duty applications. Toggle bolts open behind the wall and spread load across a wider area, making them better for heavier items when studs are not available. Always follow the anchor maker’s rating and installation instructions.
How often should I inspect my pegboard installation?
For a home garage, a monthly check is a good habit. For busy workshops or retail spaces, inspect weekly or every couple of weeks. Look for loose hooks, sagging, anchor movement, and worn straps.
Can I add straps to reinforce my current pegboard setup?
Yes, straps can help control items that swing, shift, or bundle poorly. Just remember that straps do not replace proper wall anchors. Use them with rated hooks, shelves, or pegboard hardware so the wall system still carries the load safely.
Reinforce Your Organization Setup
Hoss Straps make wall, pegboard, and gear organization cleaner and faster. Use them to bundle cords, secure awkward tools, organize shop gear, or add retention to items that shift too easily.
Explore Hoss Gear Straps, Power Tool Straps, and Electrical Straps for a cleaner wall system that stays ready to work.