


Service and Working Dog ID Gear: When It Helps, How to Set It Up, and When Not to Use It

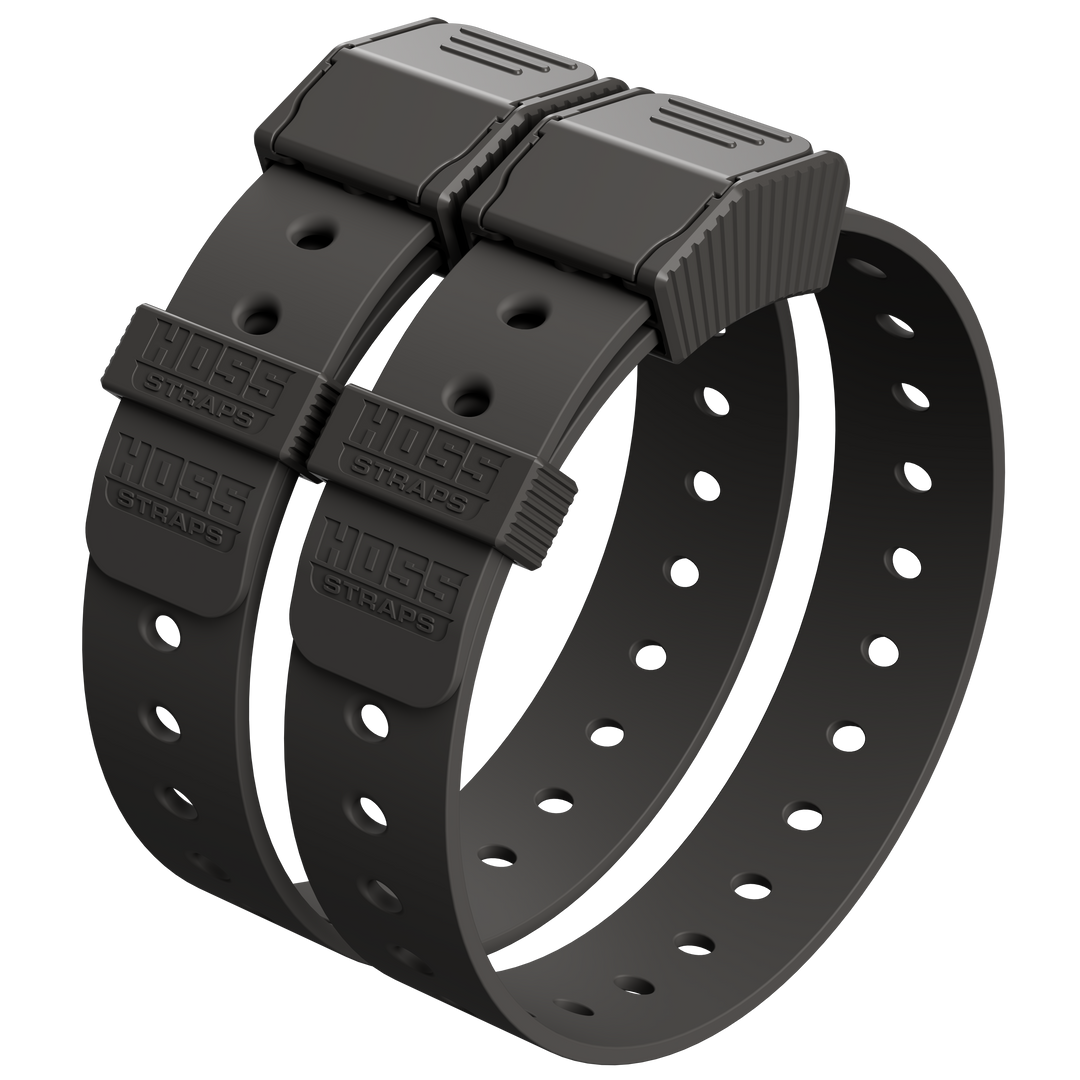
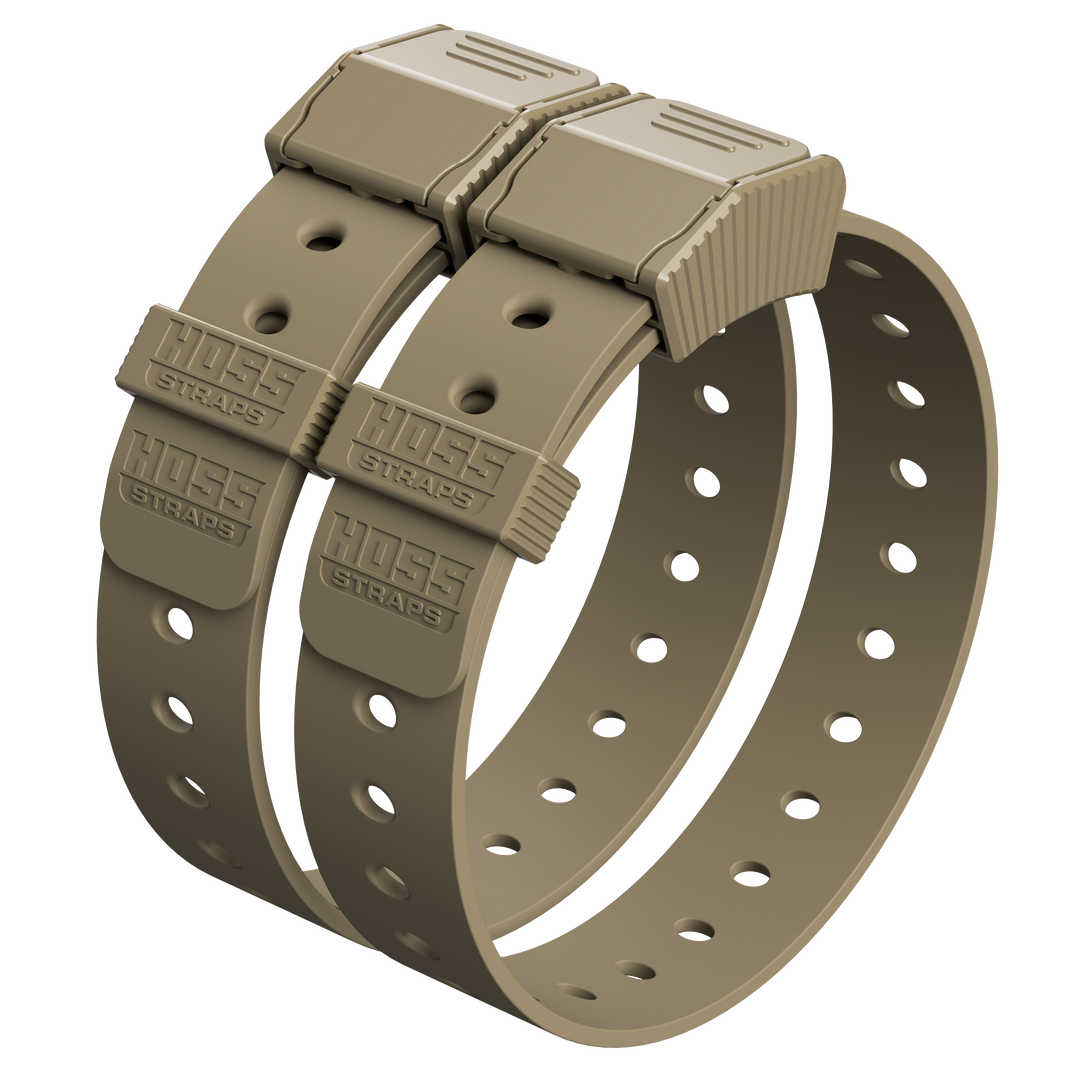
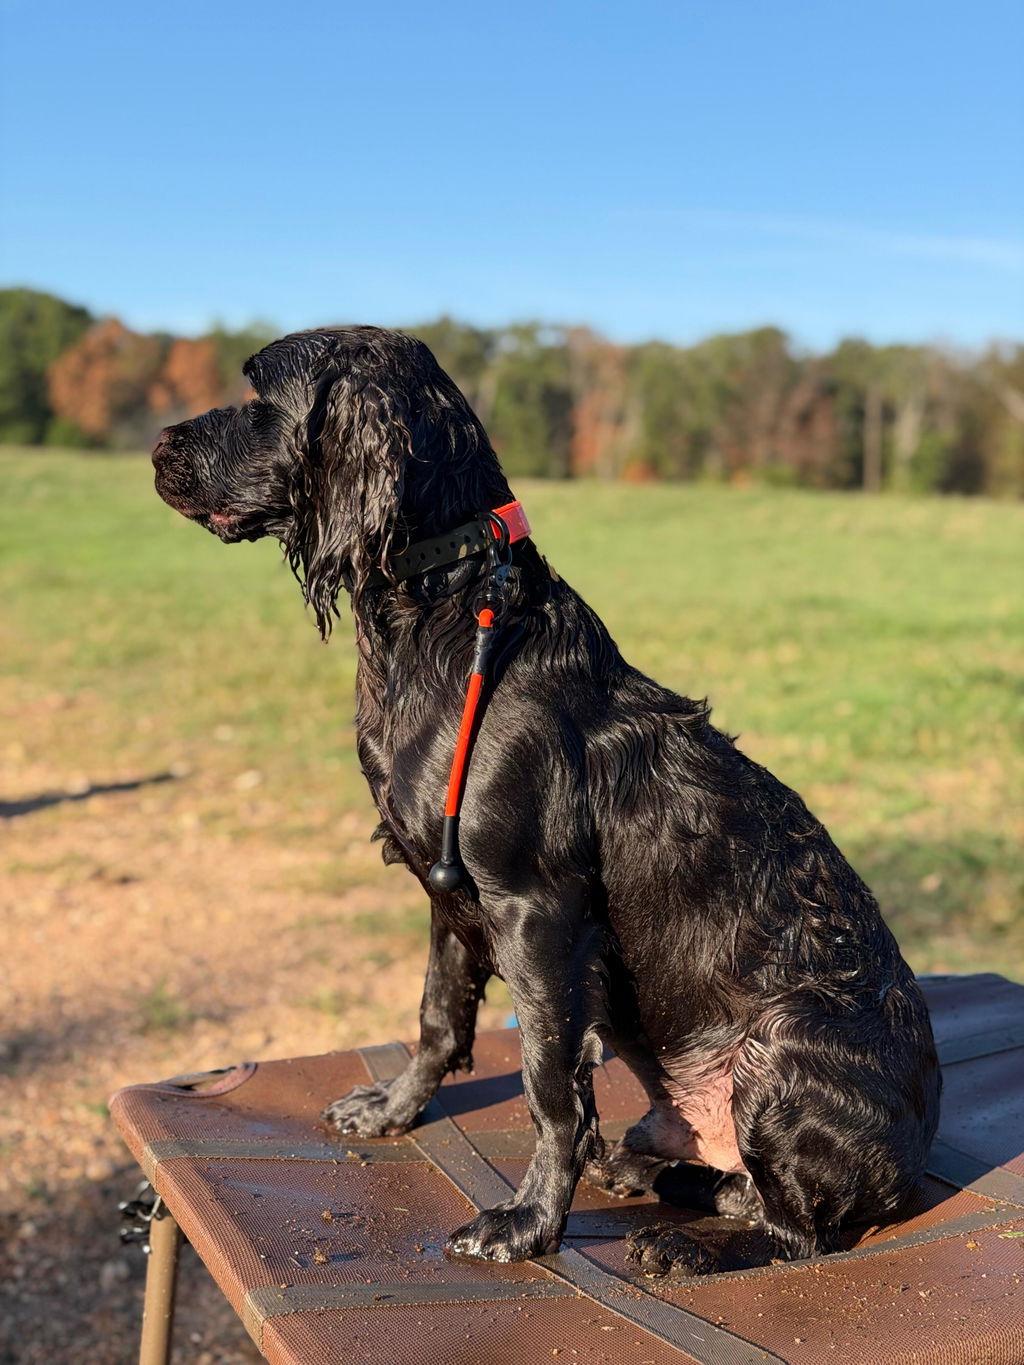
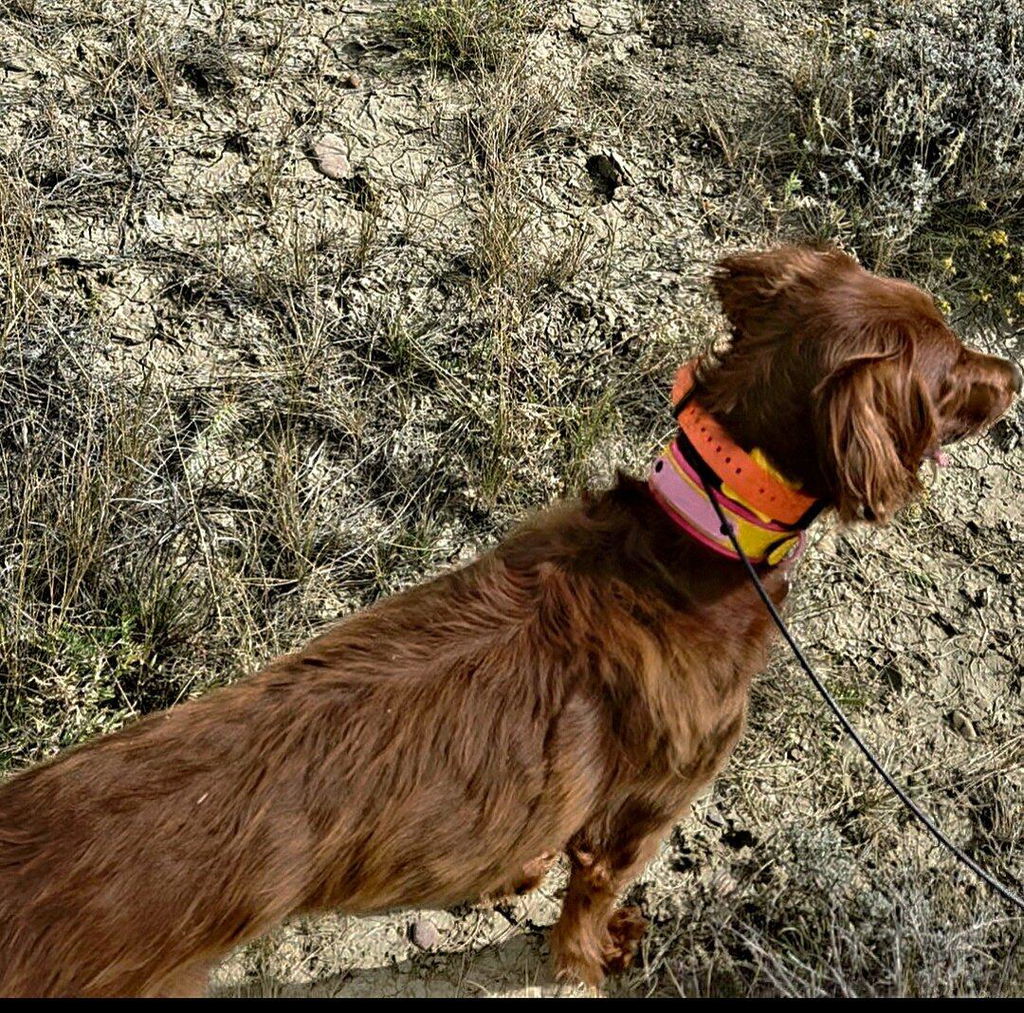
Check out our training collar setup, K9 dog collars, and dog collars built for comfort.
ID gear should be treated as a communication layer, not as proof of legal status. In the U.S., ADA guidance says service animals are not required to wear a vest, patch, ID tag, or specific harness, and staff cannot demand documentation.
Start With the Use Case, Not the Label
The first question is not “What patch should I buy?” The first question is “What problem am I trying to reduce?” For a public-facing service dog team, that problem is often interruption. For a working dog team, it is often distance, visibility, and fewer unsafe approaches. The legal line matters here too, because the federal definition in 28 CFR 36.104 says a service animal is a dog individually trained to do work or perform tasks for a person with a disability.
That means the gear is there to communicate, not to create status.
Real Handling Scenarios Where ID Gear Can Help
Think in scenarios:
- walking through a crowded store where people reach for the dog before they read your body language
- moving through a hospital, airport, campus, or lobby where staff need a quick visual cue
- exiting a vehicle with a working dog where bystanders tend to step in too close
- transferring a dog through a kennel run, training field, or work site where space matters more than conversation
In those situations, a short, visible message can reduce friction before you have to say anything. But “visible” should not come at the cost of safe setup.
Exact Fit and Setup Steps

Before you add words, fit the base gear correctly. For flat-collar use, VCA guidance says the collar should be snug enough that it cannot be slipped over the head while still allowing two to four fingers between the collar and the dog’s neck, and it also warns that a collar is not the right choice for dogs that pull very hard or cough while pulling.
A practical setup routine:
- Put the collar or harness on before attaching any labels or accessories.
- Set the fit first, then add the ID element.
- For a collar, confirm the two-to-four-finger fit and make sure the dog cannot back out.
- For a harness or cape, check that the message stays visible when the dog stands, sits, and turns.
- Walk ten to fifteen steps and watch for twisting, flapping, drifting, or rubbing.
- Remove or reposition anything that blocks movement, rides into the shoulder, or rotates out of view.
Handler-Level Safety Cautions
ID gear should make handling easier, not more complicated. If a patch panel flips under the chest, a leash sleeve slides behind your hand, or a hanging item snags during loading, the setup is already too busy.
For service-dog teams, avoid language or accessories that make the gear look like fake credentials. For working-dog teams, avoid oversized add-ons that catch on kennel latches, crate doors, seat hardware, or brush.
This is also where public confusion matters. The ADA National Network explains that there is no official certification, registration, ID card, vest, or patch requirement for service animals and warns against common misconceptions about “official-looking” gear.
Hardware Checks Before You Use It
Every time you head out, check the parts that fail first:
- buckle or closure
- ring or attachment point
- stitching around the hardware
- hook-and-loop panels if you are using removable patches
- any point where a sleeve, badge, or extra strap can twist or snag
A simple inspection standard works well here. While it is written for climbing equipment rather than dog gear, Petzl’s inspection guidance says users should check straps for cuts and wear, inspect stitching for loose or cut threads, and inspect buckles for cracks, deformation, corrosion, and proper operation.
If any part looks compromised, do not “try one more outing.” Replace or remove the failing part.
When Not to Use the Gear

Do not use ID gear when the message creates more risk than clarity.
Avoid it when:
- the dog is already stressed by extra movement or flapping gear
- the setup interferes with safe leash handling
- patches or sleeves are making the dog hotter, bulkier, or harder to move cleanly
- a collar is being used as the main handling tool for a dog that pulls so hard the setup becomes unsafe
- the wording is being used to imply legal status instead of simply reducing interruption
A quiet, well-fitted setup is usually better than a loud, overloaded one.
What This Advice Does Not Cover
This article is limited to ID gear as a practical communication tool. It is not legal advice, not veterinary advice, and not a substitute for task training, behavior work, or professional handler instruction. It does not tell you whether your dog qualifies as a service animal, and it does not recommend using gear to “prove” anything.
A Simple Setup That Usually Works
If you want a low-friction starting point, keep it plain:
- one clear message
- one stable placement
- one base piece of gear that fits correctly
- no dangling extras unless they solve a real problem
For many teams, that means a collar label for daily simplicity, a leash sleeve for extra visibility near the handler, or a harness panel when bigger text is genuinely needed.
FAQ
What is ID gear actually for?
It is there to communicate quickly with people around you, not to create rights or replace training.
What message should I use?
Use the shortest accurate message that solves the problem you are actually having.
When should I skip the gear?
Skip it when it adds bulk, confusion, snag risk, or handling problems.
What should I check before leaving?
Check fit, visibility, buckle function, stitching, rings, and whether anything twists or flaps once the dog moves.
What is the biggest mistake handlers make?
Treating the gear as the solution instead of treating it as one small part of a safe, readable, well-controlled setup.