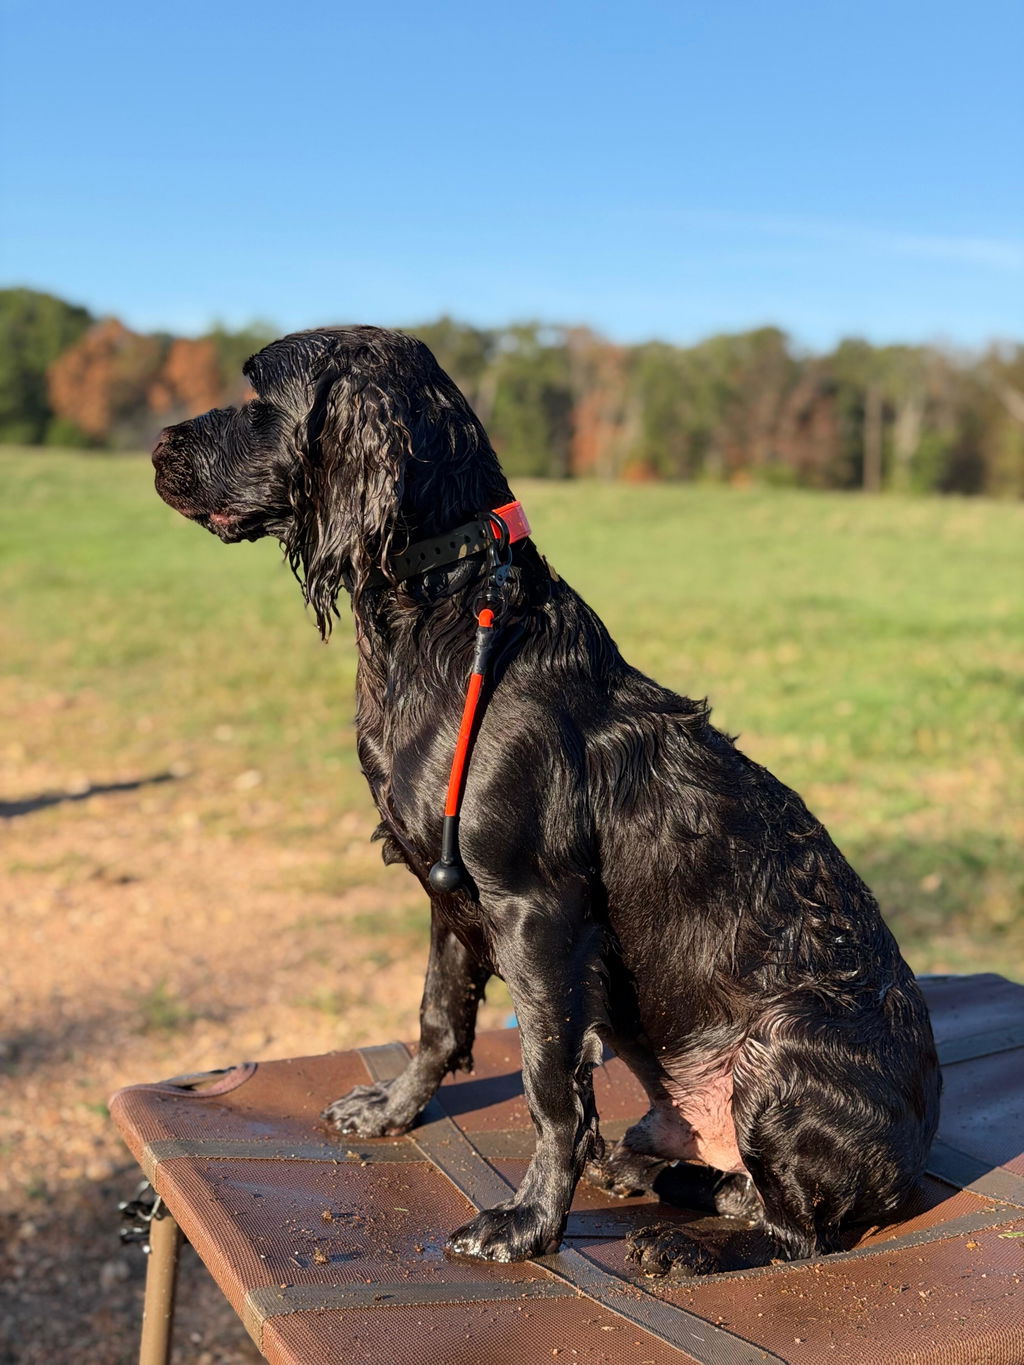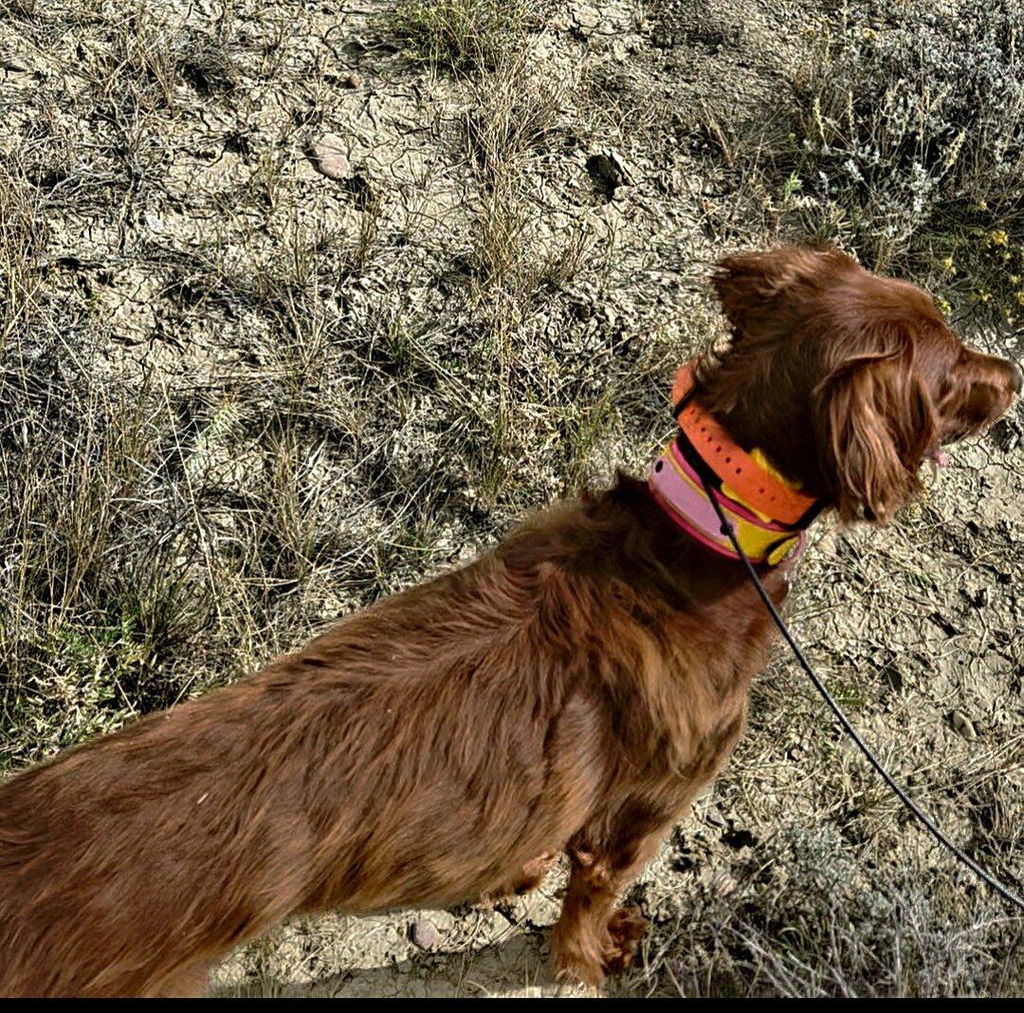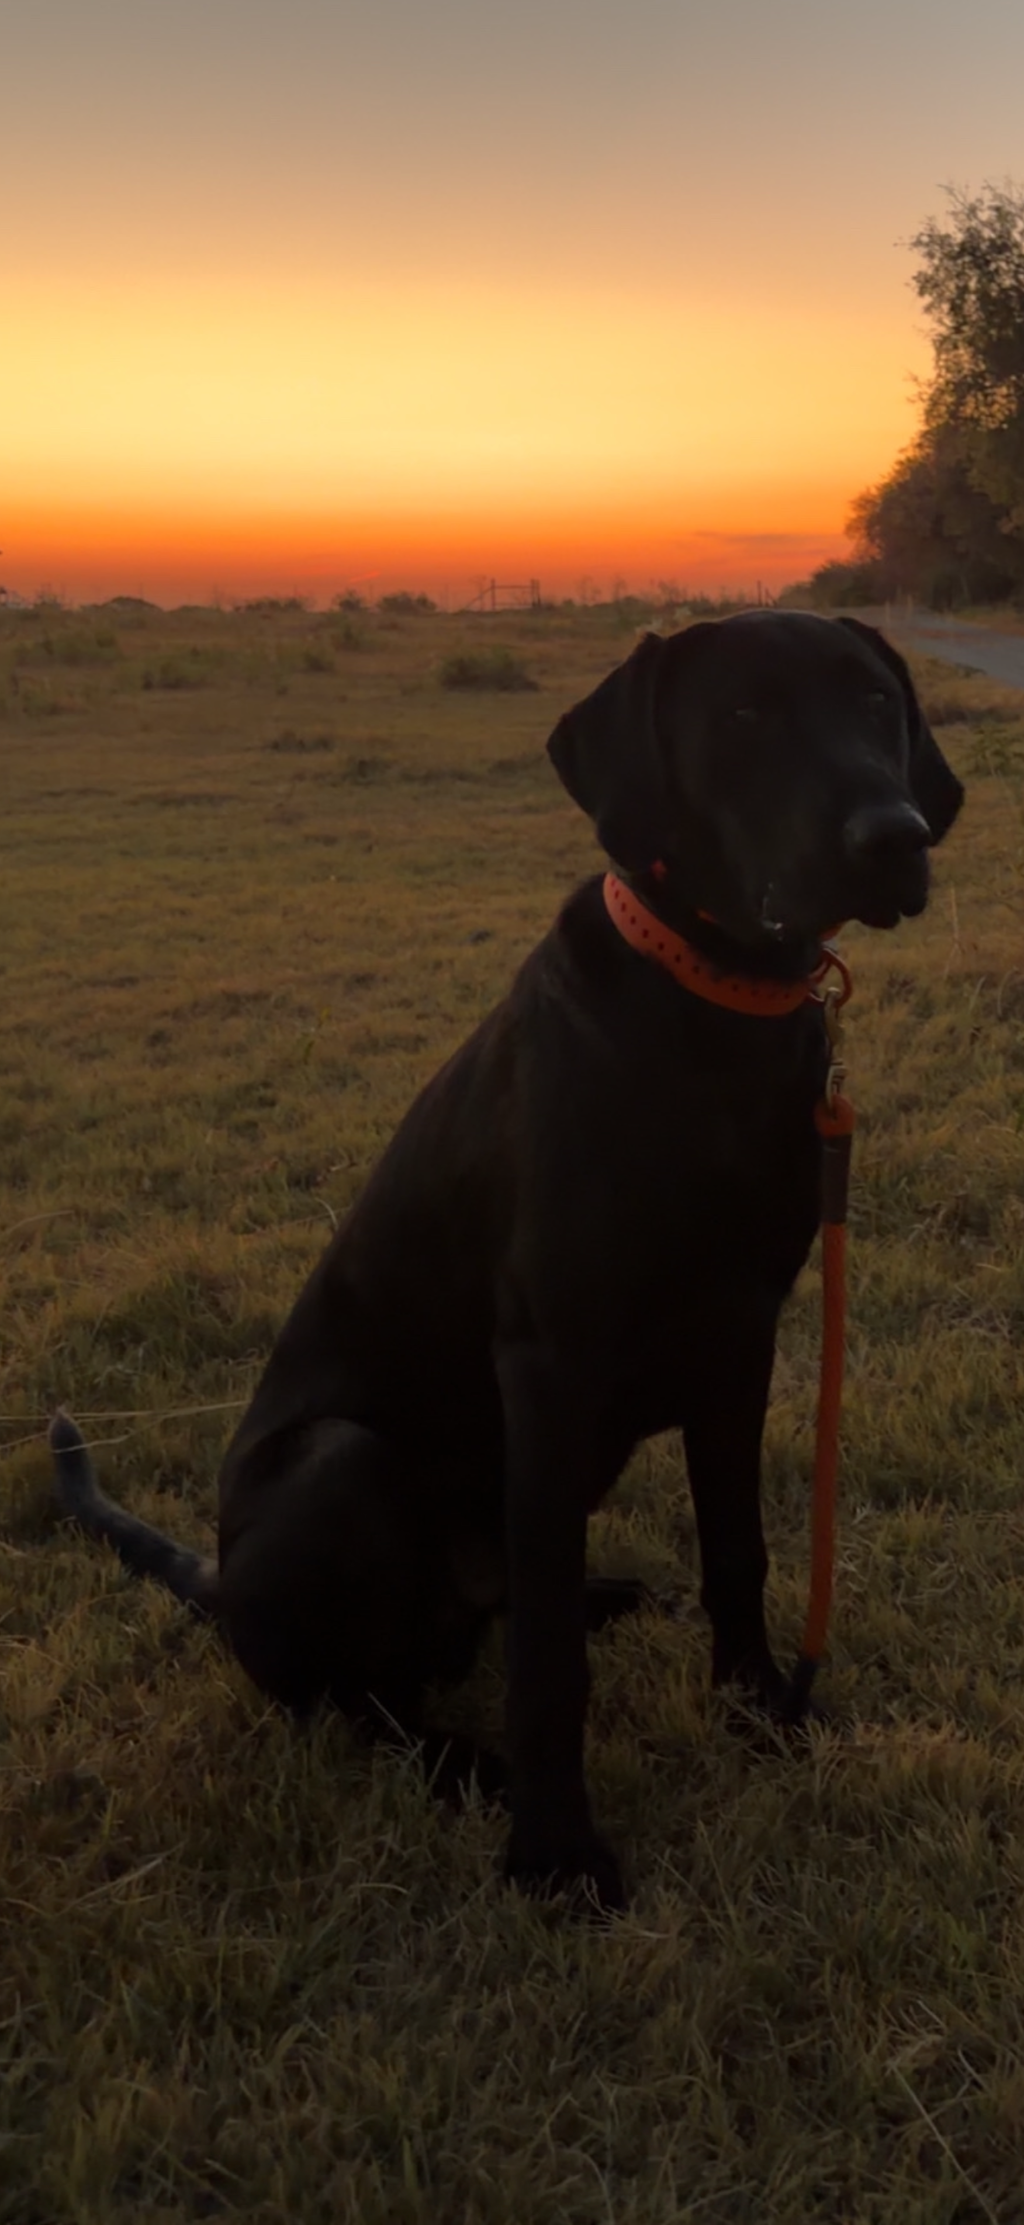



How Hoss Straps Work
How Hoss Straps Work

A Hoss gear strap wraps around your gear and anchor point, adjusts through the strap holes, and closes with a reusable quick-release buckle. The setup is simple: measure the complete route, wrap the strap flat, choose the right adjustment hole, close the buckle, and check the fit before use.

A compact route with the buckle left visible and easy to reach.

The strap body follows the object while the selected hole sets the closed position.
The strap body wraps around the gear and anchor. The adjustment holes let you choose the fit. The buckle clicks into the selected hole and provides the release point when you are ready to open the setup.
Before each use, check the full strap, each hole, and the buckle for cuts, cracks, heavy wear, or damage. Do not use a damaged strap.
Wrap: Place the gear where it will be used and route the strap around both the item and the real anchor point. Keep the strap flat and away from sharp edges, heat, moving parts, and controls.
Adjust: Pull the strap into a snug position without forcing the buckle. Choose an undamaged hole that lets the buckle close normally and remain easy to reach.
Close: Press the buckle fully into the selected hole until it clicks into place. Look at the buckle and give the setup a light hand check before relying on it.
Check: Confirm that the anchor is stable, the strap follows the planned route, and the gear cannot shift out of position. Recheck whenever the gear, anchor, or route changes.

The 12-inch size is made for shorter routes and compact gear.

The 24-inch size provides more reach for larger gear and longer anchor paths.
Plan the route so you can see and operate the buckle without moving other equipment first. This matters when you open and refasten the same setup throughout the day, especially around wet gear, gloves, or a crowded work area. Do not trap the buckle against a hard edge or place it where a moving part can strike it.
Stabilize the gear before opening the strap, then use the molded buckle release. Do not pry the buckle with a tool. After removal, check the strap and buckle before using them again. If sand, mud, or salt is present, rinse with fresh water, remove visible grit, and let the strap air-dry before the next setup.
Hoss gear straps can connect for extra length. A connected setup has two buckle points, so keep both visible, accessible, and fully closed. Measure the actual connected route instead of adding the two nominal strap lengths. Extra reach should not be treated as extra working-load capacity.
Use the Gear Strap Size Guide to measure around the gear, through or around the anchor, and back along the complete buckle path. Start with 12-inch gear straps for compact routes and 24-inch gear straps when the setup needs more reach.
This page explains general gear organization and repeated-access setups. It does not approve Hoss gear straps for lifting, towing, vehicle recovery, climbing, fall protection, personal restraint, or life-safety equipment. Do not use a setup where failure could interfere with steering, controls, emergency equipment, or another critical function. If you are unsure about a job, contact Team HOSS before relying on the setup.
Hoss lists patent rights related to its buckle, strap, and accessories on the Hoss patent information page. Patent status identifies protected product features; it is not a substitute for choosing, inspecting, and using the strap correctly.
Compare current lengths, colors, and pack options in the Hoss Gear Straps collection. For more product and ordering help, read the Hoss FAQs or contact Team HOSS with a photo and measurement of your setup.
I received some hoss straps as a gift. I’ve seen their ads but and they looked like a good product but I couldn’t justify the price of the collar when I had some that worked ok. I have garmin 550 collars and I received the 1 inch straps with the conversion kits to make them fit the 3/4 inch collars. I also have the newer 3/4 in straps that don’t need the conversion kits. both straps work perfect on the garmin 550 although the 3/4 inch straps are more streamlined and I like them a bit better. You can’t go wrong with either one. Customer service is great. I emailed with a question and got a phone call the next day from the owner and he took care of me immediately. I’ve been using the straps daily while guiding pheasant hunters and waterfowl hunting and the quality is well with the price of the collar. So easy to put on and take off with no slippage. What a great product. And Hoss gives back to the retreiver community by sponsoring SRS, HRC and other retreivers games. This is a really nice product
Friendly kind courteous people. Down-to-earth, easy to talk to. And they know their product inside and out.
Hoss Straps have the best customer service. Thankfully their dog collars are the best. One hand removal and makes it easy to get them on, plus they are ridiculously tough.
I found this product a while back, but didn’t buy it because it wouldn’t fit my Garmin Delta SE. The second I realized they made a 3/4” collar I bought it and am so glad I did. Will definitely be buying more in the future, it’s such a quality product, worth every cent.
Bought to replace the Pathfinder 2 factory collar. Way easier and pliable. Just as tough. Simple on and off. Love it.
This is the best thought out strap Ive come across in my 25+ years of running bird dogs. Thanks again
Great experience. Only one suggestion I would love a “matching” strap for my Apple ultra 2
The U.S. Postal Service sent my first order on a 22 day cross country trip to Anchorage, AK, and when I notified Hoss that my order was missing, they immediately sent me a replacement, no questions asked.
Great customer service!
This is actually an update from a previous review when I stopped at a 4. Had to come give them a 5++. The collars are an upgrade from the ones provided on e collars. When I gave my original review customer service reached out and provided updated keepers to lock down the extra length on my tt 25’s. I run 7 collars on many different clients dogs thru out the year so trimming the length isn’t an option and my OCD burns when the extra is swinging everywhere. Customer service solved my issue without me having to ask. Any company this responsive will be supported by my Kennels.
I sent an email asking how to bulk order the ecollars and within a few minutes Josh called me and cleared everything up. I was able to place my order and within a week received it all. Thanks again!
Thank you for the great review! We believe taking care of our customers is just as important as building great gear. We’re glad we could get everything squared away quickly and get your bulk order in your hands. We truly appreciate your business and thanks for running HOSS!
The only collars I will use from here on out.
Thank you! Hearing that HOSS has become the only collar you want to run means a lot to us. We truly appreciate your trust and support. Thanks for running HOSS!
Quick and easy to order
Thank you for the great review and recommendation! We’re glad you’re enjoying your HOSS setup. Things can happen in the field, and when they do, we believe in getting our customers taken care of quickly. We truly appreciate your trust and support. Thanks for running HOSS!
Simple order received in a timely manner.
Thank you! We’re glad your order arrived quickly and everything went smoothly. We truly appreciate your support. Thanks for running HOSS!
Easy and no worries if it will fit or not
Thank you! We’re glad you’re loving how easy it is to get a great fit every time. We truly appreciate your support. Thanks for running HOSS!
Fast service, easy access and awesome customer service!!!
Thank you! We’re glad you had a great experience and that we could get you taken care of quickly. We truly appreciate your support. Thanks for running HOSS!
A great product and probably the best customer service there is.
Thank you! Hearing that about both our products and customer service means a lot to us. We truly appreciate your support and thanks for running HOSS!
Best equipment ever!! Absolutely love the collars and the ease of putting on and off. Great customer service!! Everyone needs Hoss collars for their dogs
Thank you for the incredible review! We’re glad you’re loving the collars, how easy they are to get on and off, and the service you’ve received from our team. We truly appreciate the recommendation and your support. Thanks for running HOSS!
Purchased these collars based on recommendation of a trusted trainer. Had a small issue after a few weeks of use. Sent a message to Hoss and they responded in under 30 minutes to let me know that they were shipping a replacement ASAP. Couldn’t have asked for better customer service and I am extremely happy with the products!
Thank you for the great review! We’re glad your trainer pointed you toward HOSS and even happier we could get the issue resolved quickly. We stand behind our gear and believe taking care of our customers is just as important as the products we build. We truly appreciate your trust and support. Thanks for running HOSS!
Great company to support! Shipping and communication were excellent! Thanks for the experience, will be back again!
Thank you for the great review! We’re glad you had a great experience with both the communication and shipping. We truly appreciate your support and look forward to having you back. Thanks for being part of Team HOSS!
Overall I think the replacement collar for the TT25 is good. Full jury is still out till we observe durability this season.
I will say the collar only ships with 2 brackets for the antenna. Their picture clearly shows 3. Two is not enough to stabilize the antenna all the way around the collar like depicted. So I thought that was deceptive.
Thank you for the feedback and for bringing this to our attention. We were unaware that the website photo didn’t match what was included with the kit, and we appreciate you pointing it out. We’ve updated the website to correct this and sent another adapter kit your way. Thanks for giving us the opportunity to make it right and for running HOSS!
I run 4 collars 24/7 and I haven’t had a single problem with them. I had one collar clasp fall apart and they sent me the metal claps with new collar immediately. If you have a choice and run bigger dogs I’d go with the metal clasp. Also their customer service has been on point and fantastic. I will always run these straps
Thank you for the incredible review! Running four collars 24/7 is exactly the kind of real-world use we build HOSS for. We’re glad we could get you upgraded and taken care of quickly when you had an issue. Your trust in our gear and our customer service means a lot to us. Thanks for running HOSS!