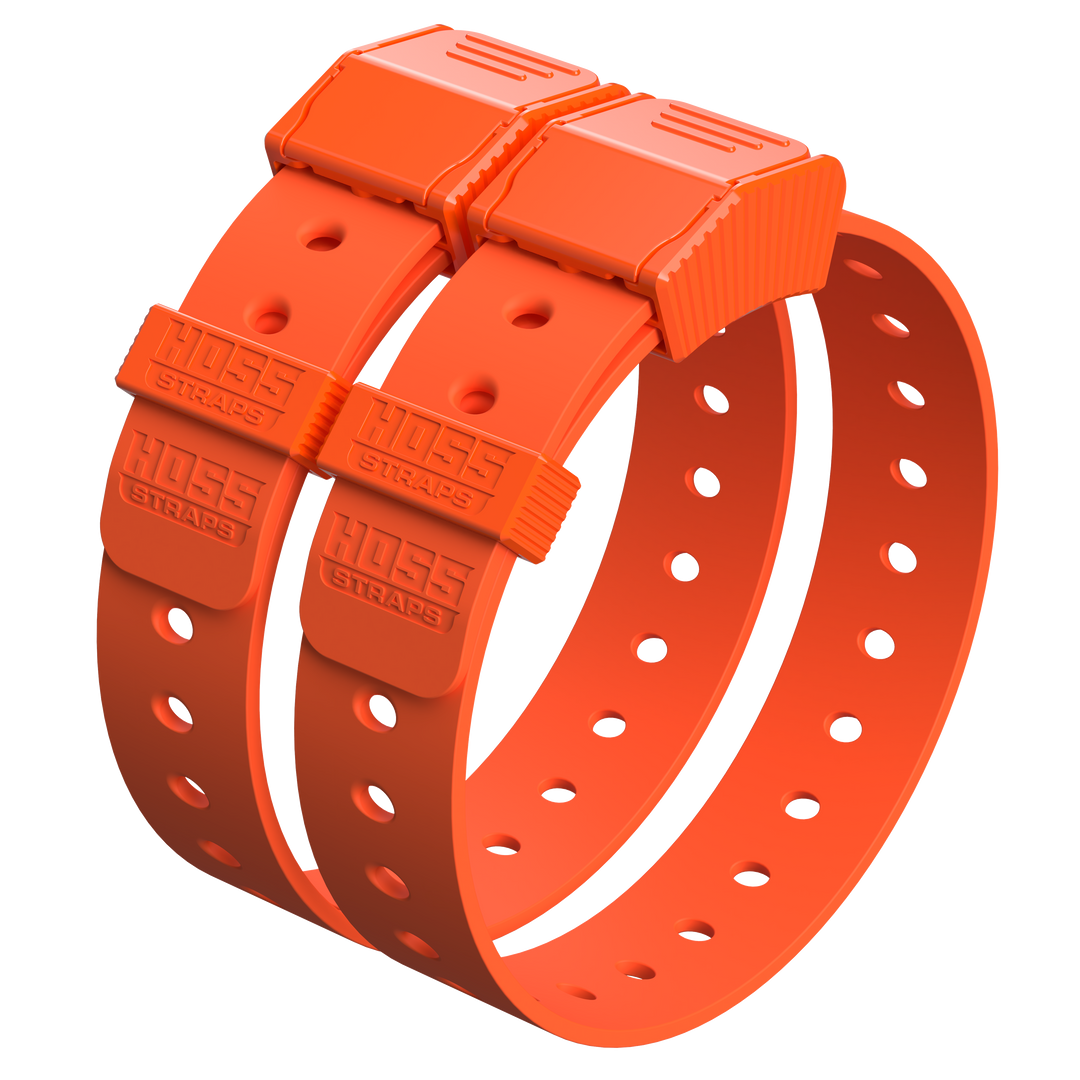



How to Install a HOSS 3/4-Inch Replacement Strap on a Mini Educator ET-300
Fast answer: Remove the old strap, route the HOSS strap flat through the ET-300 receiver slots, place the positioning stop next to the receiver, and capture the loose tail in the keeper. Finish with an off-dog hardware check, then follow the ET-300 manufacturer’s instructions when fitting the receiver to your dog.
The ET-300 receiver accepts a 3/4-inch strap, so a compatible HOSS replacement strap can run directly through the receiver without an adapter. The job is simple, but flat routing and correct hardware placement matter.

Guide overview
- Prepare the receiver and replacement strap
- Follow the installation steps
- Complete the final setup checks
- Correct common installation mistakes
- Review frequently asked questions
Before you start
Confirm the model printed on the receiver and inspect the current strap path before taking anything apart. The Mini Educator ET-300 family uses a 3/4-inch receiver path, but similar-looking receivers can use different widths or mounting systems. If the strap folds, binds, or must be forced through a slot, stop and verify compatibility.
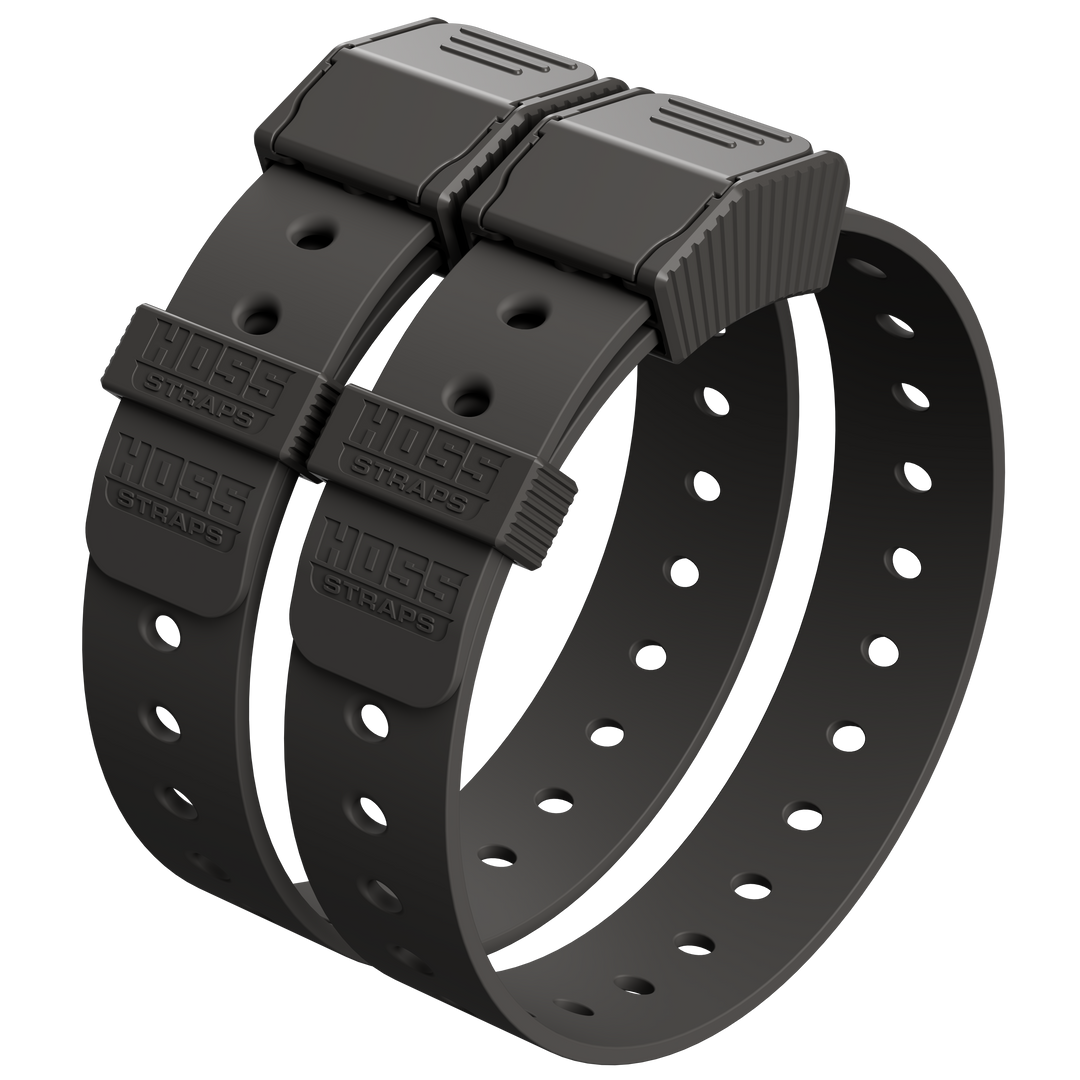
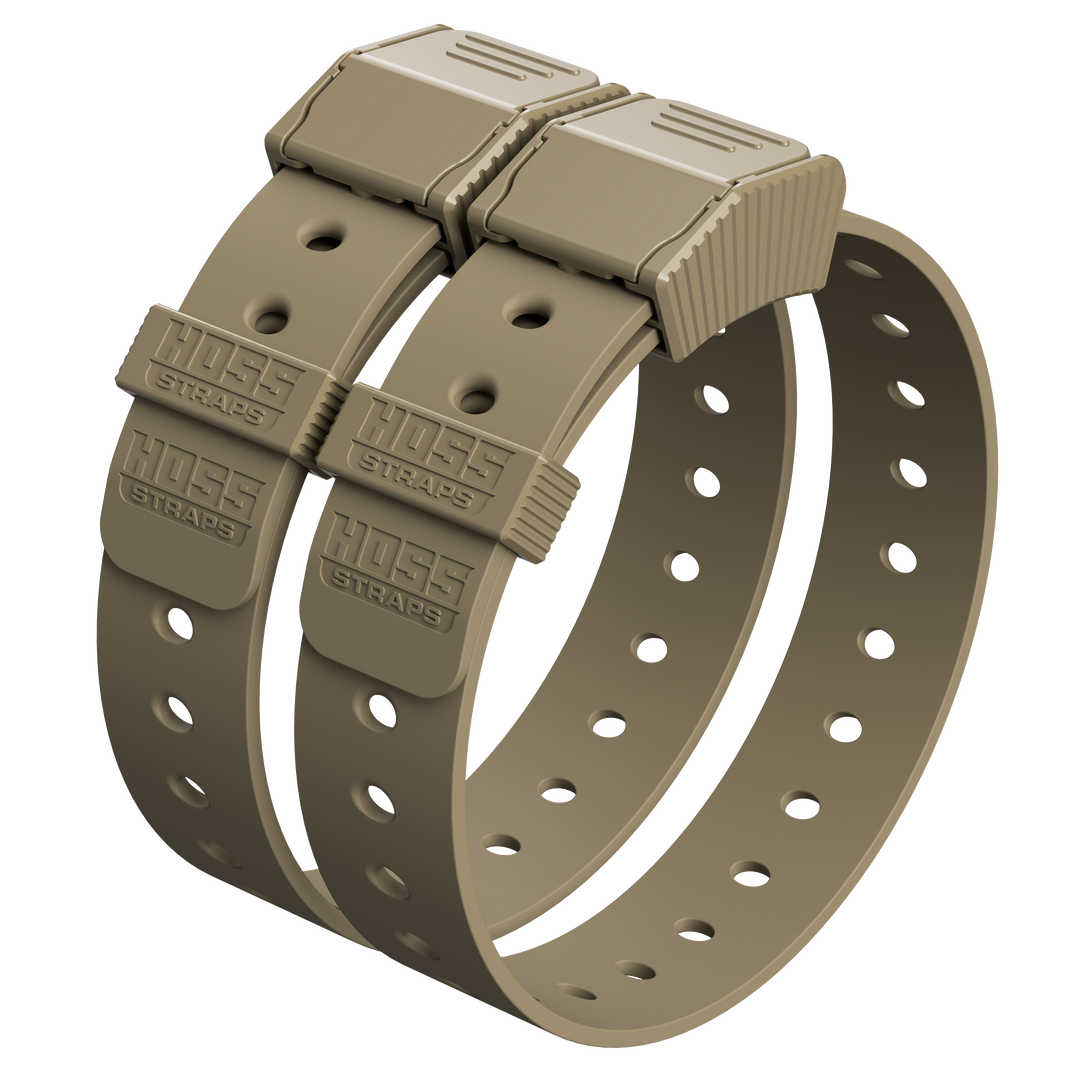
Work on a clean table with the system switched off and the receiver removed from the dog. You should have the receiver, the HOSS 3/4-inch replacement e-collar strap, its positioning stop, keeper, and buckle hardware.
Important: This article covers strap installation, not training technique, stimulation settings, or veterinary guidance. Use the device maker’s manual for receiver contact points, wear time, and on-dog placement.

Step-by-step ET-300 strap installation
1. Photograph the original routing
Take a quick photo before removing the factory strap. It gives you a reference for the receiver’s front and back, the direction of the strap, and the way the contact points face when the collar is assembled.
2. Remove the old strap and inspect the receiver
Slide the old strap out without twisting it through the slots. Wipe away hair, mud, or grit. Look closely for cracked plastic, sharp edges, damaged contact-point hardware, or debris that could prevent the new strap from sitting flat. A replacement strap cannot correct damage to the receiver itself.
3. Identify the inside and outside of the setup
Orient the receiver so its contact points will face the dog when the collar is worn. Lay the new strap beside it before threading. This five-second check prevents assembling the receiver backward and having to start over.
4. Route the strap through the receiver
Feed the free end through the ET-300 receiver path shown in the video. Keep the strap flat as it passes through each slot. The edges should not curl inward, and the strap should not cross over itself behind the receiver.
5. Set the positioning stop
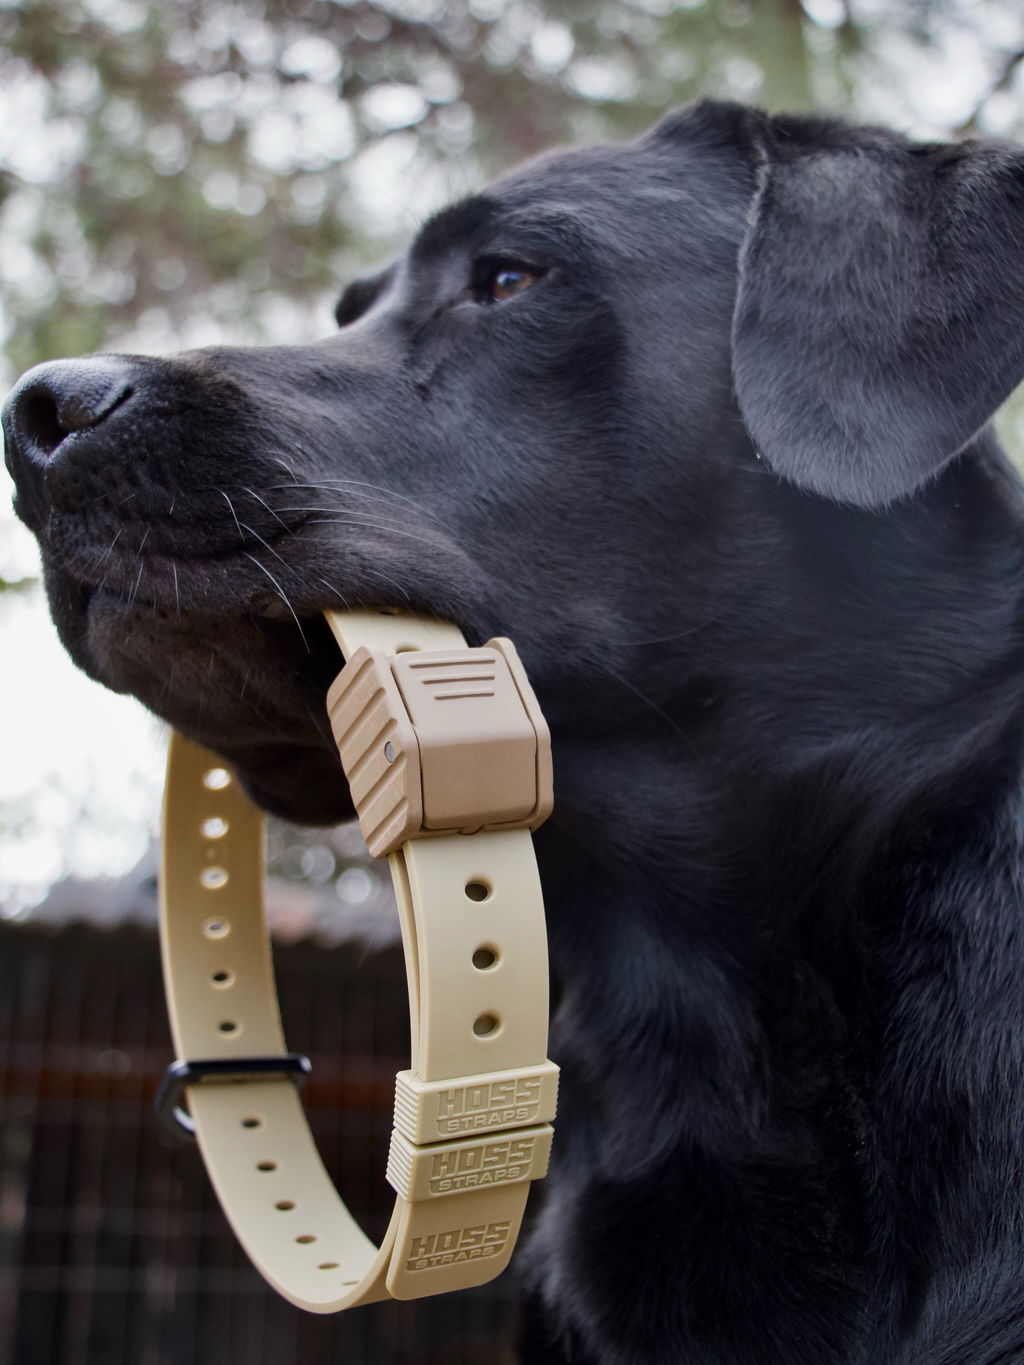
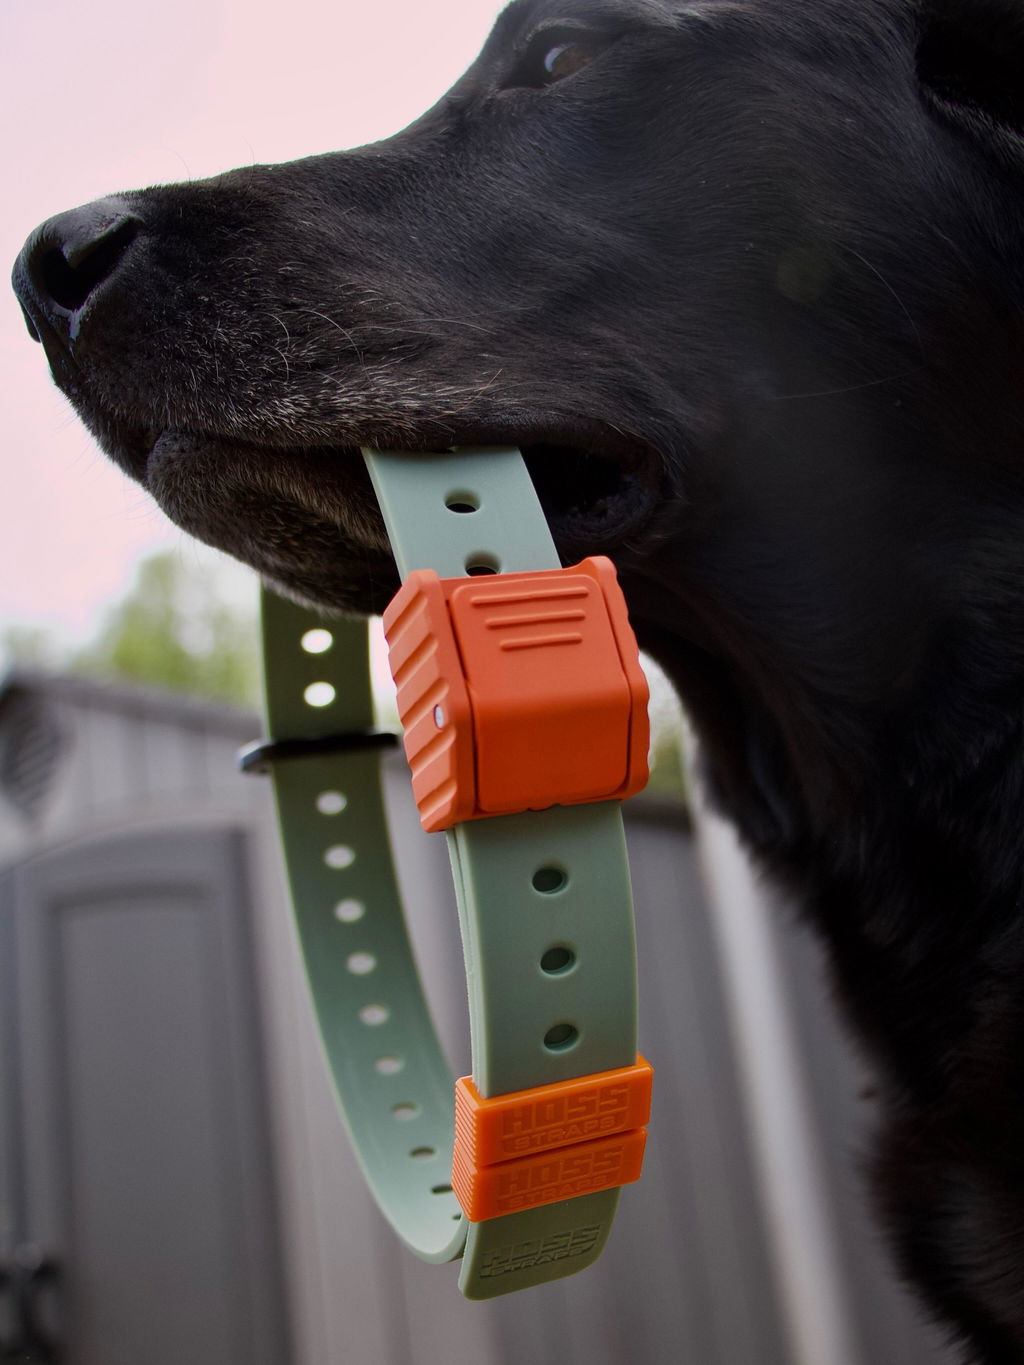
Move the aluminum positioning stop close to the receiver. Its role is to help hold the receiver in a consistent location rather than letting it wander freely along the strap. Seat it securely, but do not force hardware against the receiver housing.
6. Arrange the buckle and keeper
Complete the buckle path and use the keeper to control the remaining tail. The tail should lie flat and stay captured instead of flapping or folding under the receiver. Leave enough usable adjustment for the dog rather than trimming immediately.
7. Perform an off-dog pull and release check
With the equipment still off the dog, hold both ends and apply firm hand tension. Confirm that the receiver remains flat, the stop does not slide unexpectedly, the buckle closes completely, and the release operates normally. If anything shifts, reset it before use.

Final setup checklist
- The strap passes through every receiver slot without a twist.
- The receiver sits flat rather than rocking on a folded edge.
- The positioning stop is secure and not pressing into damaged plastic.
- The buckle is fully closed and releases normally while off the dog.
- The keeper captures the loose tail.
- The strap and receiver are clean and dry before fitting.
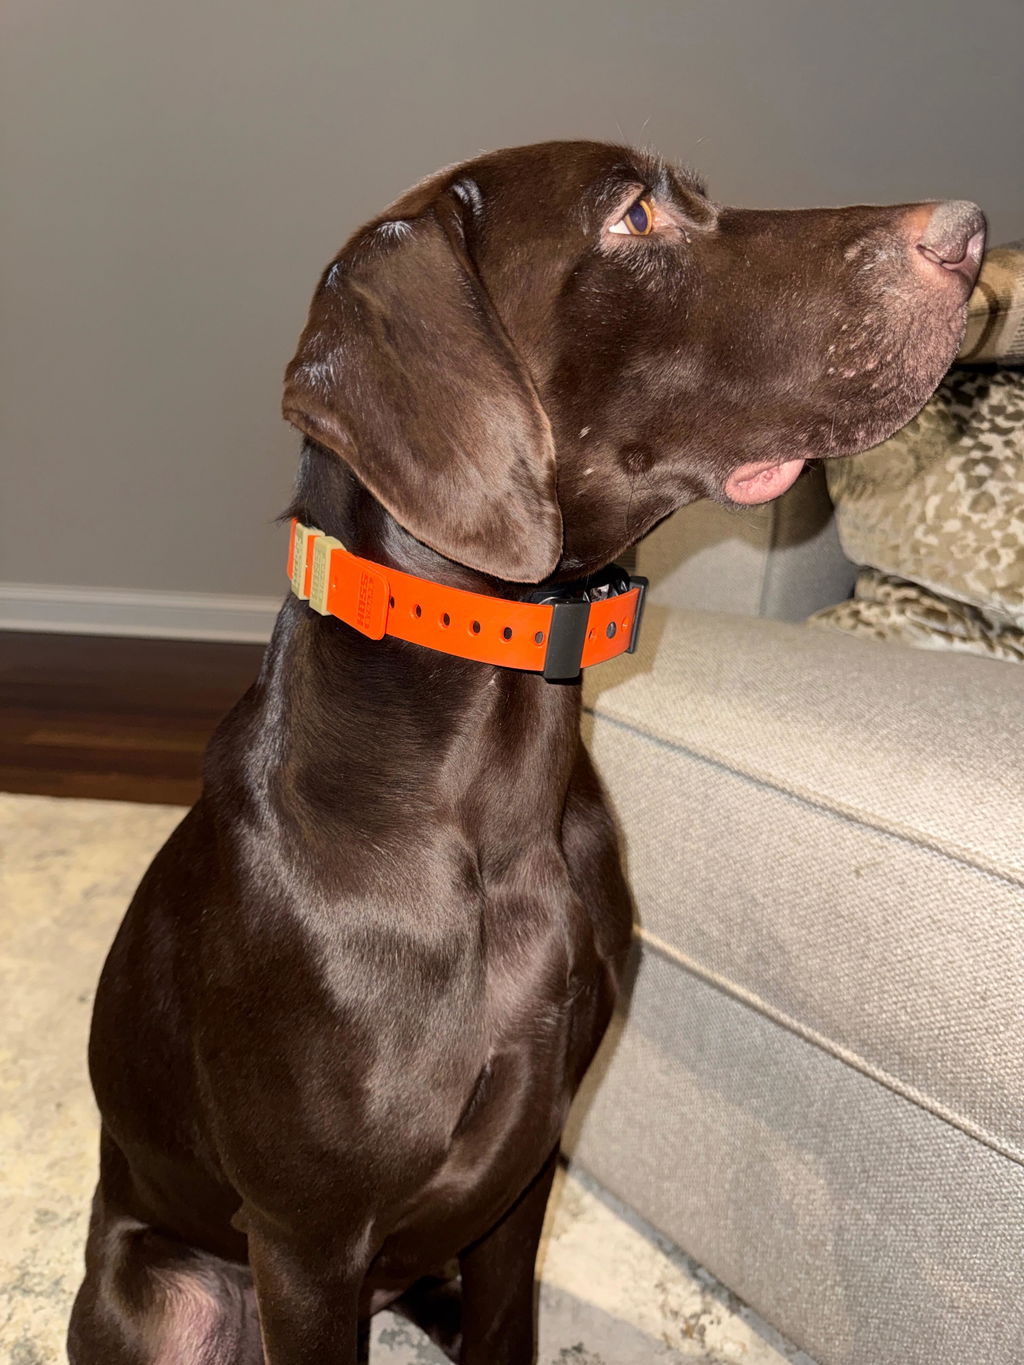
When the hardware passes these checks, fit the receiver according to E-Collar Technologies’ instructions. Recheck the setup after the dog moves because coat compression and activity can change how a receiver sits.
Common installation mistakes
| Problem | Likely cause | What to do |
|---|---|---|
| Receiver tilts or rocks | Strap is twisted, folded, or routed incorrectly | Remove the strap and route it flat again |
| Receiver slides along the strap | Position stop is missing or not seated | Reset the stop beside the receiver and recheck off the dog |
| Loose tail flaps during movement | Tail is not captured by the keeper | Route the excess through the keeper and preserve adjustment room |
| Strap binds in the receiver | Wrong width, debris, or a damaged slot | Stop; verify the model and inspect the receiver |
Frequently asked questions
Does the HOSS 3/4-inch strap require an adapter for the ET-300?
No. The compatible HOSS 3/4-inch replacement strap is designed to run directly through ET-300-series receiver slots.
Should I trim the strap immediately?
Do not rush to trim it. Confirm the full adjustment range, seasonal coat changes, and any intended multi-dog use first. A cut strap cannot be lengthened later.
What if the strap does not slide through easily?
Do not force it. Verify that the receiver uses a 3/4-inch strap, clear debris from the slots, and check for damaged or sharp edges. See the ET-300 replacement strap compatibility guide before ordering or modifying anything.
How do I keep the receiver in the same place?
Use the positioning stop and check that the strap remains flat. Our guide to the position stop, keeper, and movable ring explains each component.
Ready to replace the factory strap?
Check your receiver model, then view the direct-fit HOSS 3/4-inch replacement e-collar strap.
Mini Educator and ET-300 are used descriptively to identify compatible equipment. Always follow the receiver manufacturer’s current instructions.